How to Make a Beaded Necklace: Planning, Stringing and Finishing
Published How we research
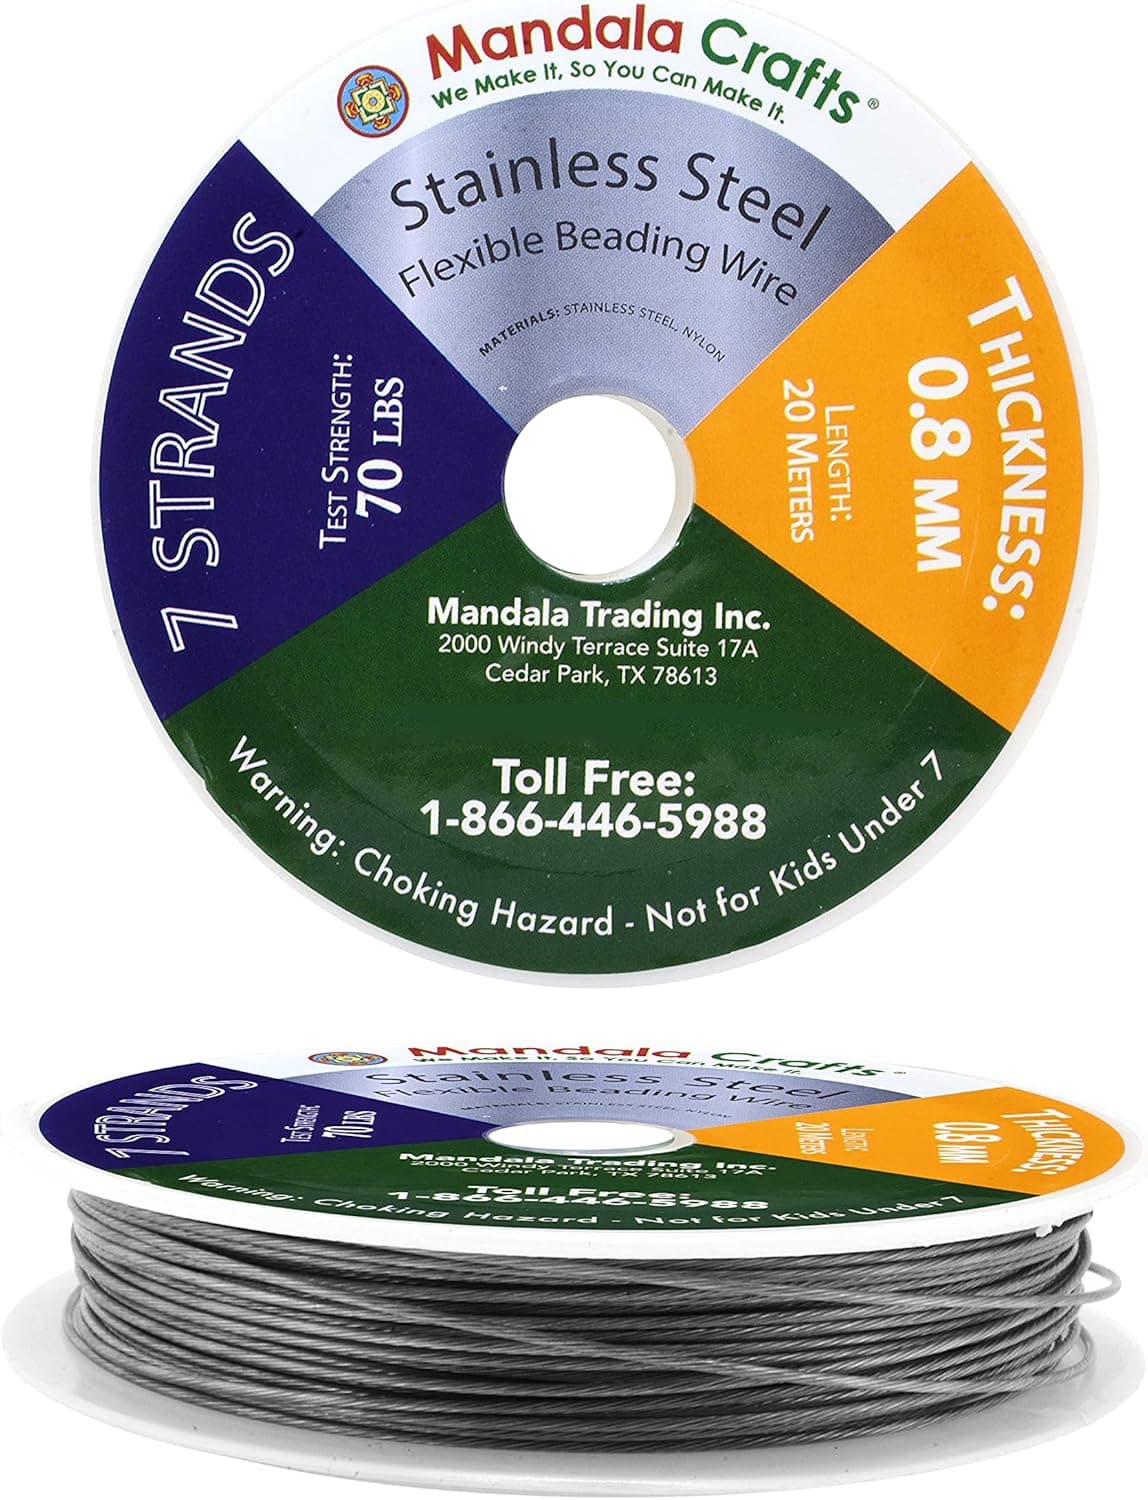
A beaded necklace is one of the most forgiving first projects in jewelry making, because it needs only a handful of supplies and a few basic skills: planning the length, laying out the beads, stringing them on flexible beading wire, and finishing both ends with crimp beads and a clasp. Most people can finish a simple strand in an afternoon. This guide walks through each step in order, explains how to pick the right length and wire, shows how to design the layout before you commit, and covers the finishing details that keep a necklace from breaking or tangling.
Products from this article
The highest-scoring picks from the buying guides this article links to. Scores are our editorial assessment, not customer ratings.
+ 49 strand construction drapes softly and resists kinking
From our guide: Best Beading Wire for Strung Jewelry
+ Crimping pliers included, so beginners get a complete setup
From our guide: Best Crimp Beads and Crimp Tubes for Secure Beading
+ Stainless steel clasps resist rust and tarnish in daily wear
From our guide: Best Jewelry Clasps for Handmade Necklaces and Bracelets
+ Cover protects work in progress from dust and spills
From our guide: Best Bead Boards for Designing Necklaces and Bracelets
Decide on the length and style first
Necklace length is usually described in inches, and the number you pick changes where the beads sit on the body. A choker is commonly around 14 to 16 inches, a princess length is around 17 to 19 inches, and a matinee length is around 20 to 24 inches. Many makers start with 16 to 18 inches because that range sits comfortably at the collarbone on most people. Measure a necklace you already like with a soft tape measure, or drape a piece of string around your neck to see what feels right.
Remember that the clasp and finishing hardware add a little length, so the bead strand itself should be shorter than the finished necklace. A common approach is to plan the beaded portion about an inch shorter than the target and let the clasp and an optional extender chain make up the difference. If you are making the piece as a gift and do not know the neck size, an extender chain gives you some adjustment room.
Gather the materials and tools
For a basic strung necklace you need beads, flexible beading wire, two crimp beads or crimp tubes, a clasp with a matching jump ring or soldered ring, and two small crimp covers if you want a tidy finish. Beading wire is made of fine steel strands coated in nylon, and a medium diameter is a reasonable all-purpose choice for lightweight beads. Heavier stone or glass beads generally benefit from a sturdier wire, so check the weight of your beads before you buy.
The tools are simple: flat-nose or crimping pliers to close the crimp beads, and a pair of wire cutters made for jewelry to trim the wire cleanly. A bead mat or a towel keeps rolling beads under control while you work. Cut wire can spring out, so keep your face back from the cutters and consider wearing safety glasses when you trim wire ends.
Lay out the design before you string
Spread your beads on a bead mat or a bead board and arrange them in the order you want. A bead board has channels sized to the common necklace lengths, which lets you see the finished proportions at a glance. If you do not have one, lay a tape measure or ruler beside the row and arrange the beads against it. Rearranging a layout takes seconds, while restringing a finished piece takes much longer.
A few design habits help beginners. Repeat a pattern so the necklace feels intentional, such as two larger beads then three small ones. Put the focal bead or pendant in the center and work outward symmetrically. Use small spacer beads between larger beads if you want separation, and check how colors look together in daylight, since indoor lighting can change the way glass and stone read.
String the beads and attach one end
Cut a piece of wire about six inches longer than the finished length so you have room to finish both ends. Start by threading one crimp bead, then the clasp or a ring, and pass the wire back through the crimp bead so it forms a small loop. Leave a short tail of about an inch. Slide the crimp bead snug against the loop, leaving a tiny gap so the clasp can still move, then close the crimp with your pliers.
Many makers also run the wire tail back through the first few beads so the end is hidden and extra secure. After that, string the beads in your planned order, pushing them gently down the wire toward the finished end. Tape the loose end or fold it over a bead while you work so beads do not slide off, because a stray slip at this stage can undo the whole layout.
Finish the second end and test it
When all the beads are on the wire, add a crimp bead, then the other half of the clasp, and pass the wire back through the crimp bead and a few of the last beads. Pull the wire snug so there are no gaps between beads, but leave enough give that the necklace can curve naturally. A strand pulled too tight can kink or stand stiff, while one left too loose shows visible wire between beads.
Close the crimp, trim any excess wire close to the beads, and gently tug on the clasp to check the connection. If you want a polished look, cover each crimp with a small crimp cover and press it closed. It is wise to wear the necklace around the house for a short time before gifting or selling it, since that reveals any weak joints or uncomfortable sections early.
Common problems and quick fixes
If the necklace feels stiff and does not drape, the strand is probably too tight, so open one crimp and add a little slack. If beads slide and leave gaps, the strand is too loose, so reopen a crimp and take up the extra wire. A necklace that tangles often has a wire that is too thin for the bead weight, so consider a stronger wire next time.
If a crimp bead slips, it usually means it was crushed unevenly or the wire is too thick for that crimp size. Check that the crimp bead is matched to the wire diameter listed by the seller. For the clasp, a lobster clasp is easy to use for most people, while a magnetic clasp can suit anyone who has difficulty with small fastenings. Keep a small repair kit on hand, because a necklace you wear often will eventually need a new crimp or clasp.
Popular right now
- Seed Bead Size ChartArticle
- Choosing Beading WireArticle
- Best Jewelry Making Travel Cases for Crafting AnywhereBuying guide
- Best Bead Reamers for Enlarging and Smoothing Bead HolesBuying guide
- Best Bead Spinners for Fast Seed Bead StringingBuying guide
- Best Crimp Beads and Crimp Tubes for Secure BeadingBuying guide
Based on the last 28 days of search and visitor data.