Crimping Technique
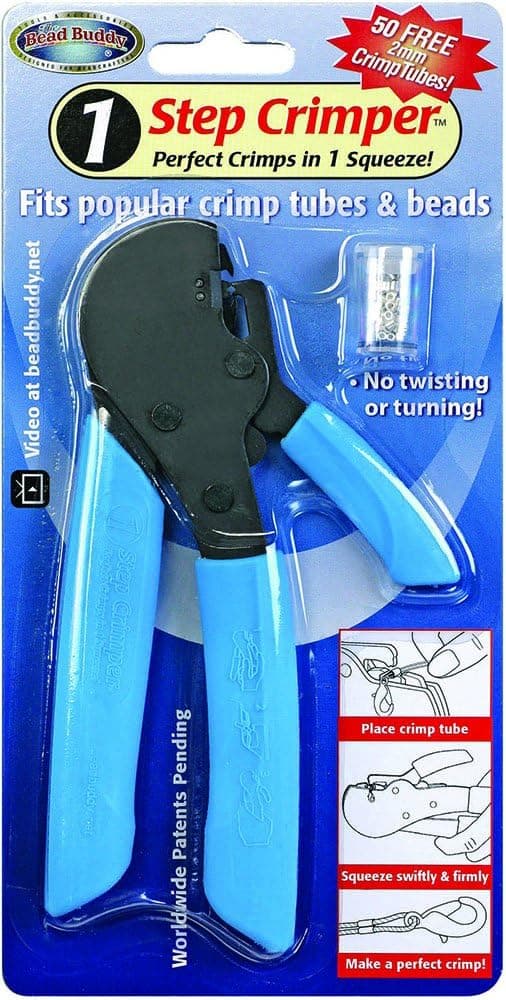
Choose crimp tubes over round beads for even compression, sizing them to match your wire (a 2x2mm tube suits .019 inch wire). Use crimping pliers' two stations: the back crescent station compresses the tube into a curved channel, then rotate ninety degrees and fold it closed in the front rounded station into a tidy barrel shape. Keep the two wire passes side by side rather than crossed, and leave a small loop so the clasp can pivot. Always pull-test every crimp firmly before trusting it, cutting off and redoing any that slip. Finish with a crimp cover for a polished, snag-free look. Crimping is the technique that turns a strand of beads into finished jewelry, and it is where most strung pieces eventually fail. A crimp bead or crimp tube is a small metal cylinder that you compress around beading wire to lock it in place, usually forming the loop that holds a clasp. Done well, a crimp will outlast the wire itself. Done poorly, it slips under tension and sends beads across the floor. The good news is that reliable crimping is a mechanical skill with clear steps, and ten minutes of deliberate practice on scrap wire will noticeably improve every piece you make afterward.
Start by choosing the right hardware
Start by choosing the right hardware. Crimp tubes are generally more reliable than round crimp beads because their straight walls compress evenly. Sterling silver and gold-filled tubes are softer and grip better than base metal, which can crack. Size matters more than most beginners realize: a 2mm x 2mm tube suits the popular .019 inch beading wire with two passes of wire through it. If the crimp is too large for the wire, it will crush into a loose fold that slides; too small, and you cannot fit the return pass through. Check the wire manufacturer's crimp size recommendation and keep matching sets together.
The standard tool is a crimping plier
The standard tool is a crimping plier, which has two stations in its jaws. Thread your crimp tube on the wire, pass the wire through the clasp and back through the tube, and position the tube in the back station, the one shaped like a crescent. Squeeze to compress the tube into a curved channel with one wire on each side of the dent. Then rotate the crimp ninety degrees, place it in the front rounded station, and squeeze again to fold the channel closed into a compact cylinder. The result should look like a small, tidy barrel, not a flattened pancake with sharp corners.
Wire management inside the crimp matters
Wire management inside the crimp matters as much as the squeeze. Before compressing, make sure the two wire passes lie side by side rather than crossed, because crossed wires create a pressure point that can shear over time. Leave a small loop between crimp and clasp so the clasp can pivot; a strangled clasp connection concentrates flex at one point of the wire and fatigues it. Many makers add a wire guard, a small horseshoe-shaped channel that shields the loop from abrasion. It is optional on bracelets but genuinely worthwhile on necklaces, where the clasp gets worked every day.
Always test before you trust
Always test before you trust. After closing each crimp, grip the wire and pull firmly, harder than normal wear would. A proper crimp will not budge. If it slides even slightly, cut it off and start over; recrimping an already compressed tube rarely holds. After the pull test, trim the tail flush and consider a crimp cover, an open metal bead that closes over the finished crimp and makes it look like a plain round bead. Covers are cosmetic, but they also smooth any edge that might catch clothing or skin.
A few refinements separate tidy work from frustrating work
A few refinements separate tidy work from frustrating work. Crimp with the piece in its worn curve, especially on bracelets, so you do not lock in stiffness. Keep several crimp sizes in stock so you are never tempted to use a mismatched one. If you work with very fine wire or heavy beads, use two crimps at each end for redundancy. And when a design is heavy or precious, upgrade to screw-on wire protectors or consider a professional-style finish with French wire. None of these steps takes more than a minute, and together they make your jewelry something people can wear daily without a second thought.
Frequently asked questions
What size crimp tube should I use for beading wire? A 2mm x 2mm crimp tube suits the popular .019 inch beading wire with two passes of wire through it; check the wire manufacturer's crimp size recommendation and keep matching sets together.
How do you use crimping pliers correctly? Position the tube in the back crescent station and squeeze to compress it into a curved channel, then rotate it ninety degrees, place it in the front rounded station, and squeeze again to fold it into a compact cylinder.
Why should wire passes inside a crimp not cross? Crossed wires create a pressure point that can shear over time, so make sure the two wire passes lie side by side rather than crossed before compressing the crimp.
How do you test if a crimp is secure? Grip the wire and pull firmly, harder than normal wear would; a proper crimp will not budge, and if it slides even slightly, cut it off and start over rather than recrimping it.