Stringing Your First Bracelet
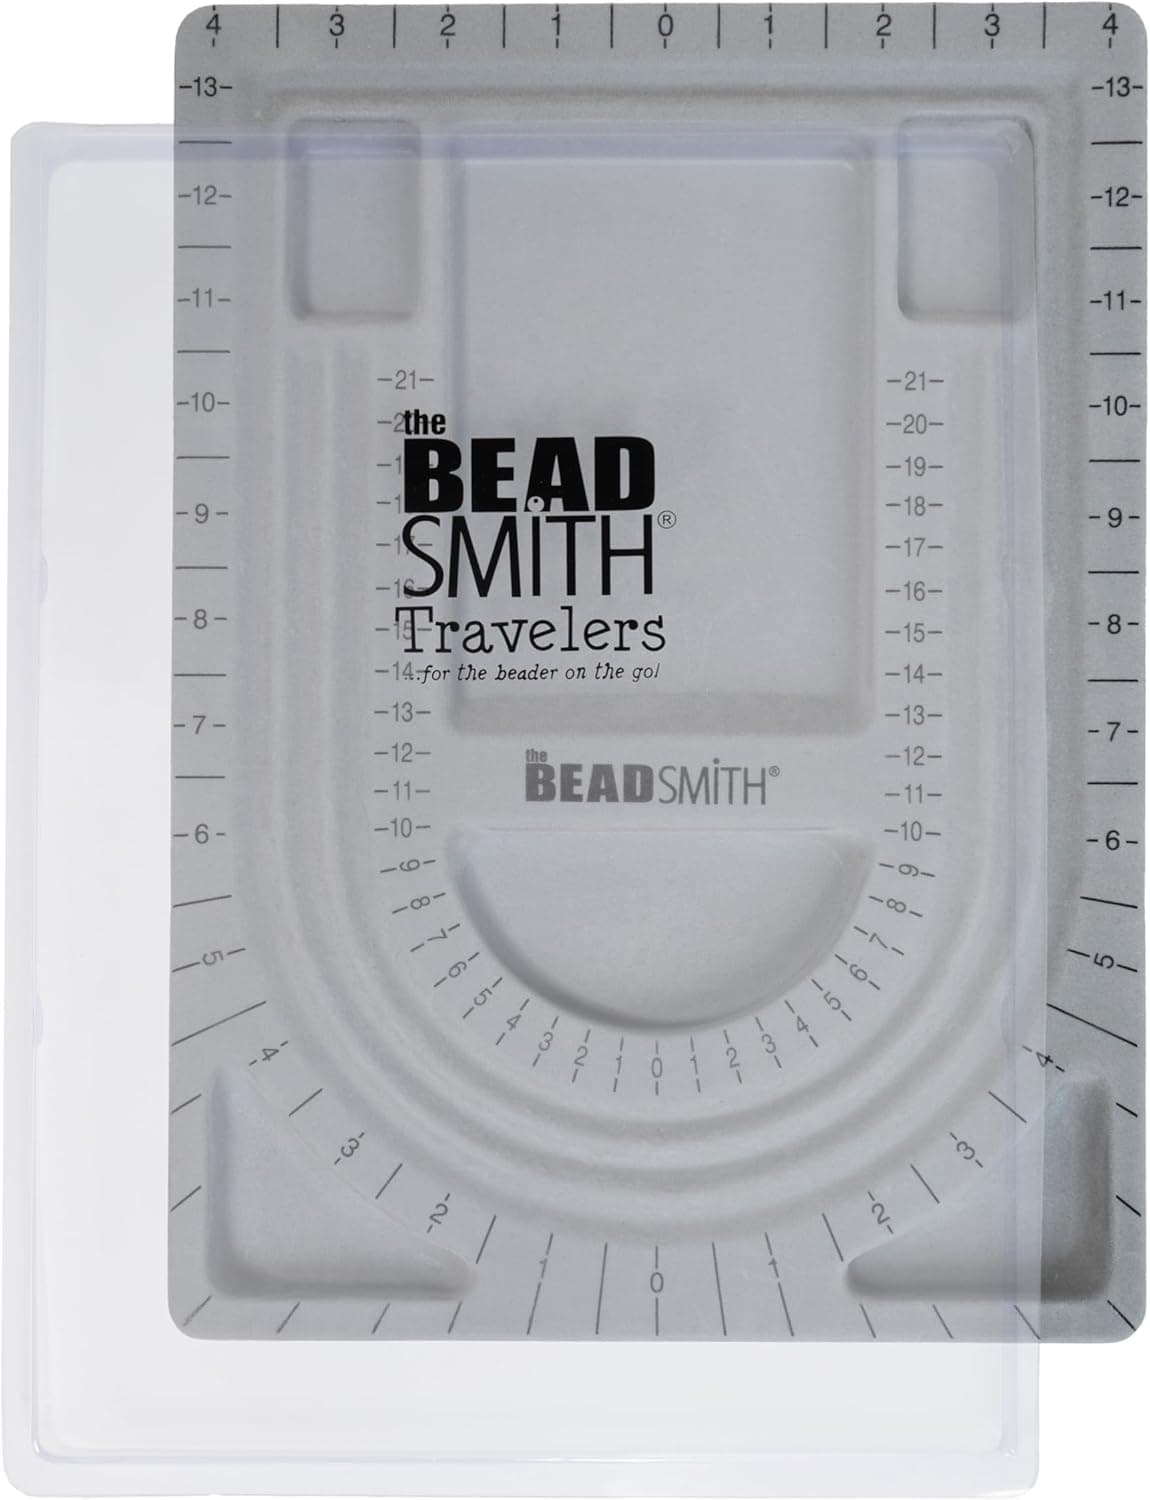
A strung bracelet is the perfect first project because it uses every core element of jewelry making, beads, wire, crimps, and a clasp, in one short build. Start by measuring your wrist with a soft tape measure or a strip of paper, snug but not tight. Add three quarters of an inch to a full inch to that number for a comfortable fit; the thicker your beads, the more you should add, because large beads take up more of the inner circumference. For most adults the finished length lands between seven and eight inches, and writing your target length down before you start saves a lot of second-guessing later.
Lay out your design before you cut anything. A bead board with a curved channel and length markings makes this easy, but a folded towel works too. Arrange beads from the center outward so the focal point sits in the middle of the wrist and the pattern stays symmetrical. This is the moment to audition ideas: swap spacers, adjust color rhythm, and check that the layout reaches your target length. Moving beads around on a board costs nothing, while restringing a finished bracelet because the proportions feel off costs the whole project.
Cut a piece of flexible beading wire about four to five inches longer than your finished length. That overhang feels wasteful, but it gives you room to hold the wire, thread crimps, and work the clasp attachment without fighting for millimeters. Thread on one crimp bead, pass the wire through one half of your clasp, then bring the wire back down through the crimp to form a small loop around the clasp. Leave a tiny gap so the clasp can swivel freely, then flatten or fold the crimp with crimping pliers. Tug firmly to confirm it holds.
Now string your beads following the layout, and thread the first several beads over both the main wire and the short tail so the tail is hidden inside the bracelet. When all beads are on, add the second crimp and the other clasp half, then pass the wire back through the crimp and, if the holes allow, back through the last few beads. Before you close this second crimp, hold the bracelet in a curve, as it will sit on the wrist, and snug the wire so there is no visible gap but the bracelet still flexes. A bracelet crimped perfectly straight and tight will feel stiff and stress the wire once curved.
Close the second crimp, test it with a firm pull, and trim the excess wire as close as possible with flush cutters. If a sharp stub remains, tuck it into the neighboring bead hole. Slide a crimp cover over each crimp if you want a polished, all-metal look; it instantly upgrades the finish. Try the bracelet on and check three things: the length is comfortable, the beads rotate slightly on the wire, and the clasp is easy to operate with one hand. A lobster clasp with a small ring is standard, but a toggle is easier for self-fastening.
Common first-timer problems all have simple fixes. If the bracelet kinks, it was strung too tight; if wire shows between beads, too loose. If a crimp fails the pull test, cut it off and redo it rather than hoping. Expect to sacrifice a few crimp beads while learning, since they cost pennies and are the cheapest education in jewelry making. Once this basic build feels comfortable, you can vary bead patterns, add dangles, or move to multi-strand designs using the exact same skills.