Jump Ring Technique
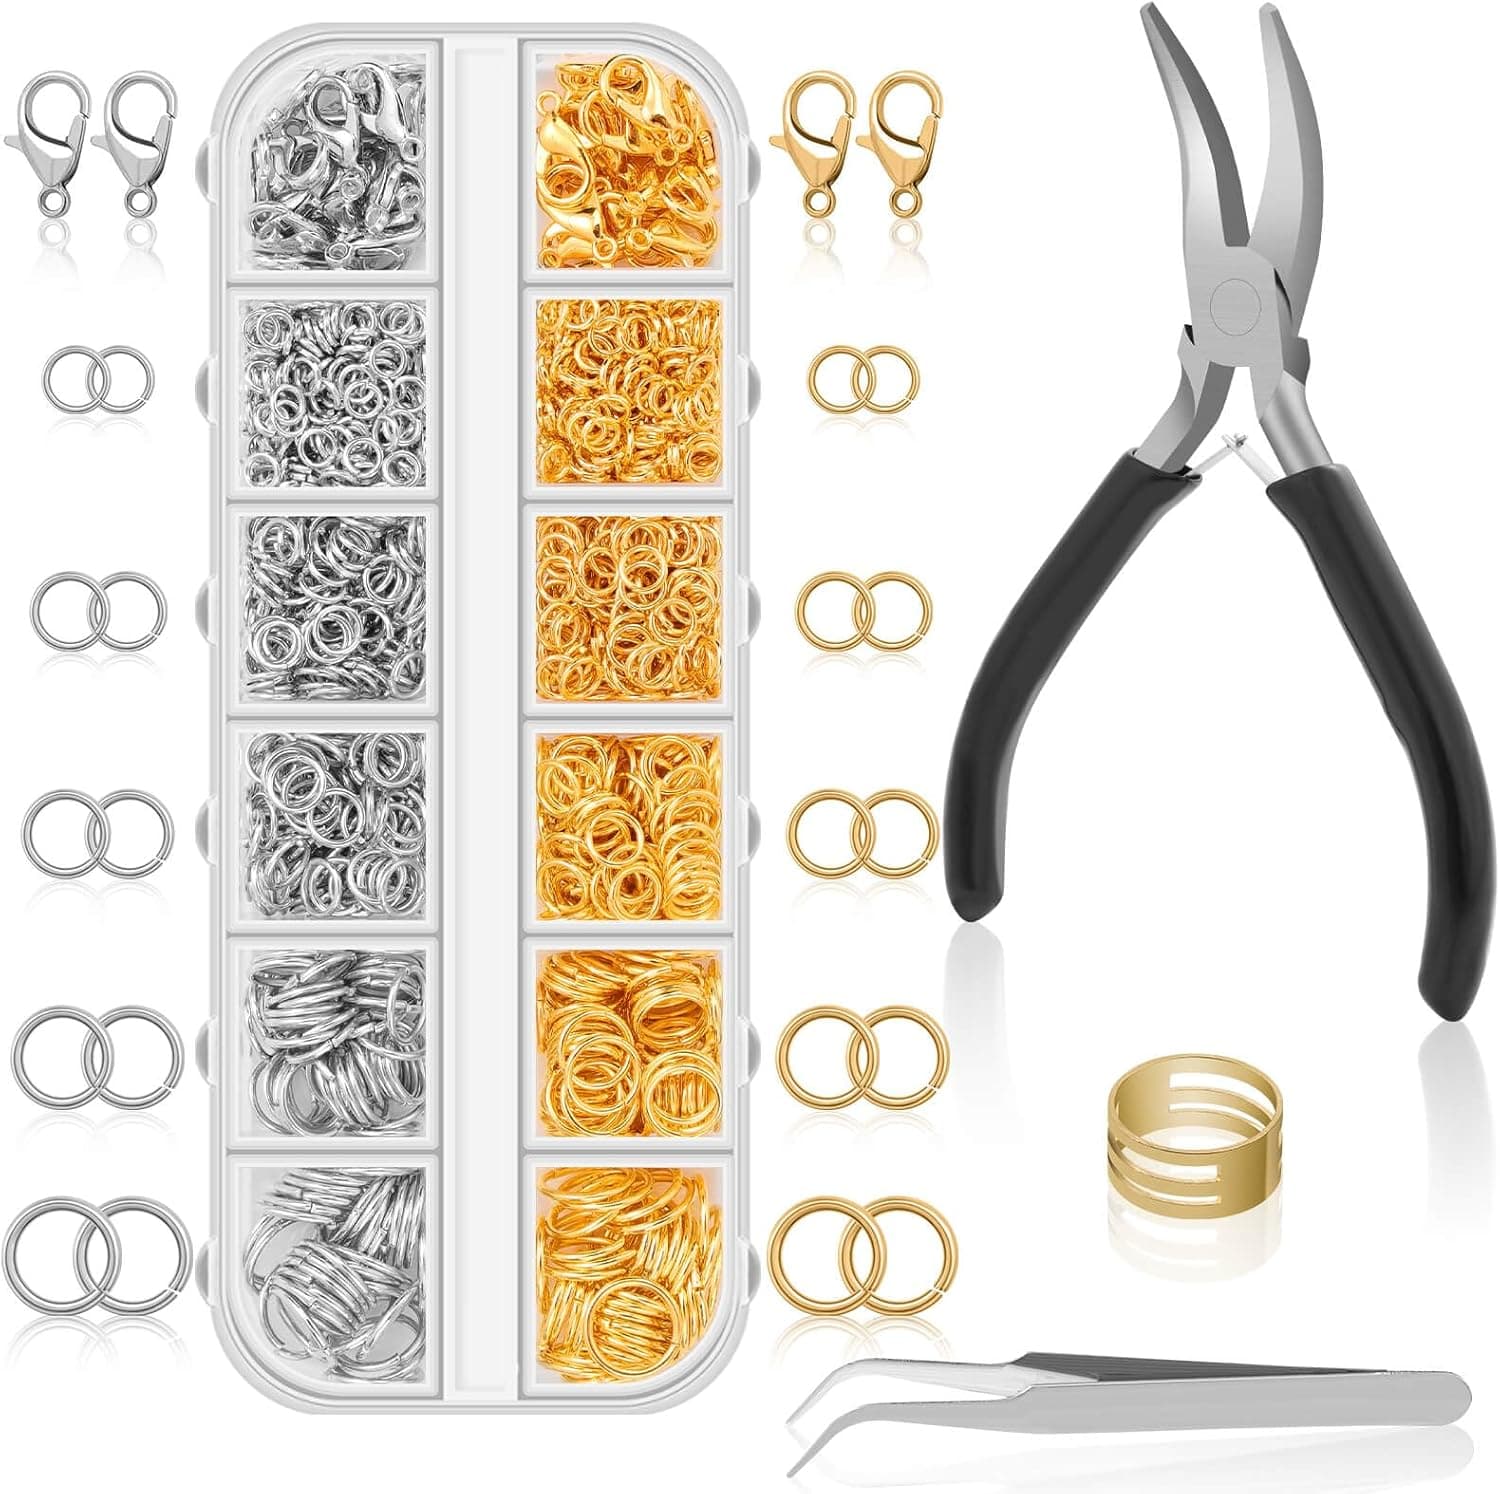
Open a jump ring by twisting, never pulling: grip each side of the opening with two pliers and rotate one hand toward you and one away so the ends move apart sideways. Close by reversing the twist slightly past center and back until you feel a faint click, with no gap you can catch a fingernail on, then work-harden the joint with a few tiny flexes. Use 18 gauge as a default for bracelets and clasps, 20 gauge for light earrings, and 16 gauge for heavy designs. Jump rings are the connective tissue of jewelry: small wire circles that join clasps to chains, dangles to earrings, and charms to bracelets. Because they look trivial, they rarely get the attention they deserve, and the result is the most common failure in handmade jewelry, a ring that pulls open and drops a charm somewhere unrecoverable. Handling jump rings correctly is a thirty-second lesson that instantly raises the durability of everything you make, and choosing the right ring for the load is a habit worth building early.
Open by twisting, never pulling
The cardinal rule is to open a jump ring by twisting, never by pulling. Grip each side of the ring's opening with pliers, chain nose in one hand and flat nose or a second chain nose in the other, and rotate one hand toward you and the other away, so the ends move apart sideways while the circle keeps its shape. Pulling the ends straight apart ovals the ring, and no amount of squeezing restores a true circle; the distorted ring closes with a gap that snags and releases. To close, reverse the twist and bring the ends slightly past each other, then back, feeling a faint click as they seat. Perfectly met ends with no gap you can catch a fingernail on is the standard.
Work-hardening the closed joint
Work-hardening is the professional touch most hobbyists never learn. Wire stiffens when flexed, so gently wiggling the closed joint back and forth a few times with your pliers, moving the ends past each other in tiny arcs, hardens the metal at the join and helps the ring stay shut. Some makers give the closed ring a light squeeze across the joint as a final seat. If a ring feels soft and springy after closing, it will not resist a determined tug; harden it or choose a heavier ring. On any connection that will bear real load, this small ritual is the difference between years of wear and a lost pendant.
Choosing gauge and diameter
Selection matters as much as technique. Jump rings are described by wire gauge and inner or outer diameter, and both numbers carry information. Thicker wire, meaning lower gauge, resists opening: 20 gauge suits light charms and earrings, 18 gauge is a sensible default for bracelets and necklace clasps, and 16 gauge or heavier belongs on chunky, high-stress designs. Larger diameters are weaker at the same gauge because there is more leverage on the joint, so a small thick ring beats a large thin one for security. Match metal to the piece: sterling and gold-filled rings harden nicely, while very soft aluminum and some plated base metals never hold well.
When a jump ring is the wrong part
Know when a jump ring is the wrong part. Split rings, which are miniature keyrings with doubled wire, cannot be pulled open and are the right choice for attaching clasps on pieces that see rough handling, at the cost of a slightly bulkier look. Soldered closed rings have no opening at all and are ideal as the fixed loop a clasp hooks into. Oval jump rings put their opening on the side rather than the point of stress, a clever upgrade for charm bracelets. For heavy pendants, a wrapped wire bail beats any openable ring. Keeping a small stock of each option means the connection can always match the demand.
Audit every connection before you finish
Build a quick habit of auditing connections on everything you make: before calling a piece finished, tug each jump ring joint firmly and run a fingertip over the joins to catch gaps and burrs. Two minutes of checking prevents nearly all field failures. And when jewelry comes to you for repair, look at the jump rings first; a majority of broken necklaces and lost charms trace back to a ring that was pulled open instead of twisted, closed with a gap, or simply undersized for its job. Fix those, and you have fixed the piece.
Frequently asked questions
Why does my jump ring close with a gap? It was pulled straight open, which ovals the ring permanently, and squeezing does not restore a true circle. Open the next one with a sideways twist so it keeps its shape.
What gauge jump ring should I use? 20 gauge for light charms and earrings, 18 gauge as a sensible default for bracelets and necklace clasps, and 16 gauge or heavier for chunky high-stress designs.
Is a bigger jump ring stronger? No. At the same gauge a larger diameter is weaker because there is more leverage on the joint, so a small thick ring beats a large thin one.
When should I use a split ring instead? For attaching clasps on pieces that see rough handling. Split rings cannot be pulled open, at the cost of a slightly bulkier look.