How to Make a Beaded Keychain or Bag Charm Step by Step
Published How we research
A beaded keychain is a quick project that also makes a thoughtful handmade gift, and the same steps work for bag charms, zipper pulls and backpack dangles. You need beads, a strong cord or wire, a keyring or clasp, and a way to finish the ends securely. This guide covers choosing materials that survive daily use, two simple construction methods, a few design ideas, and how to test the finished piece so it does not drop your keys.
Products from this article
The highest-scoring picks from the buying guides this article links to. Scores are our editorial assessment, not customer ratings.
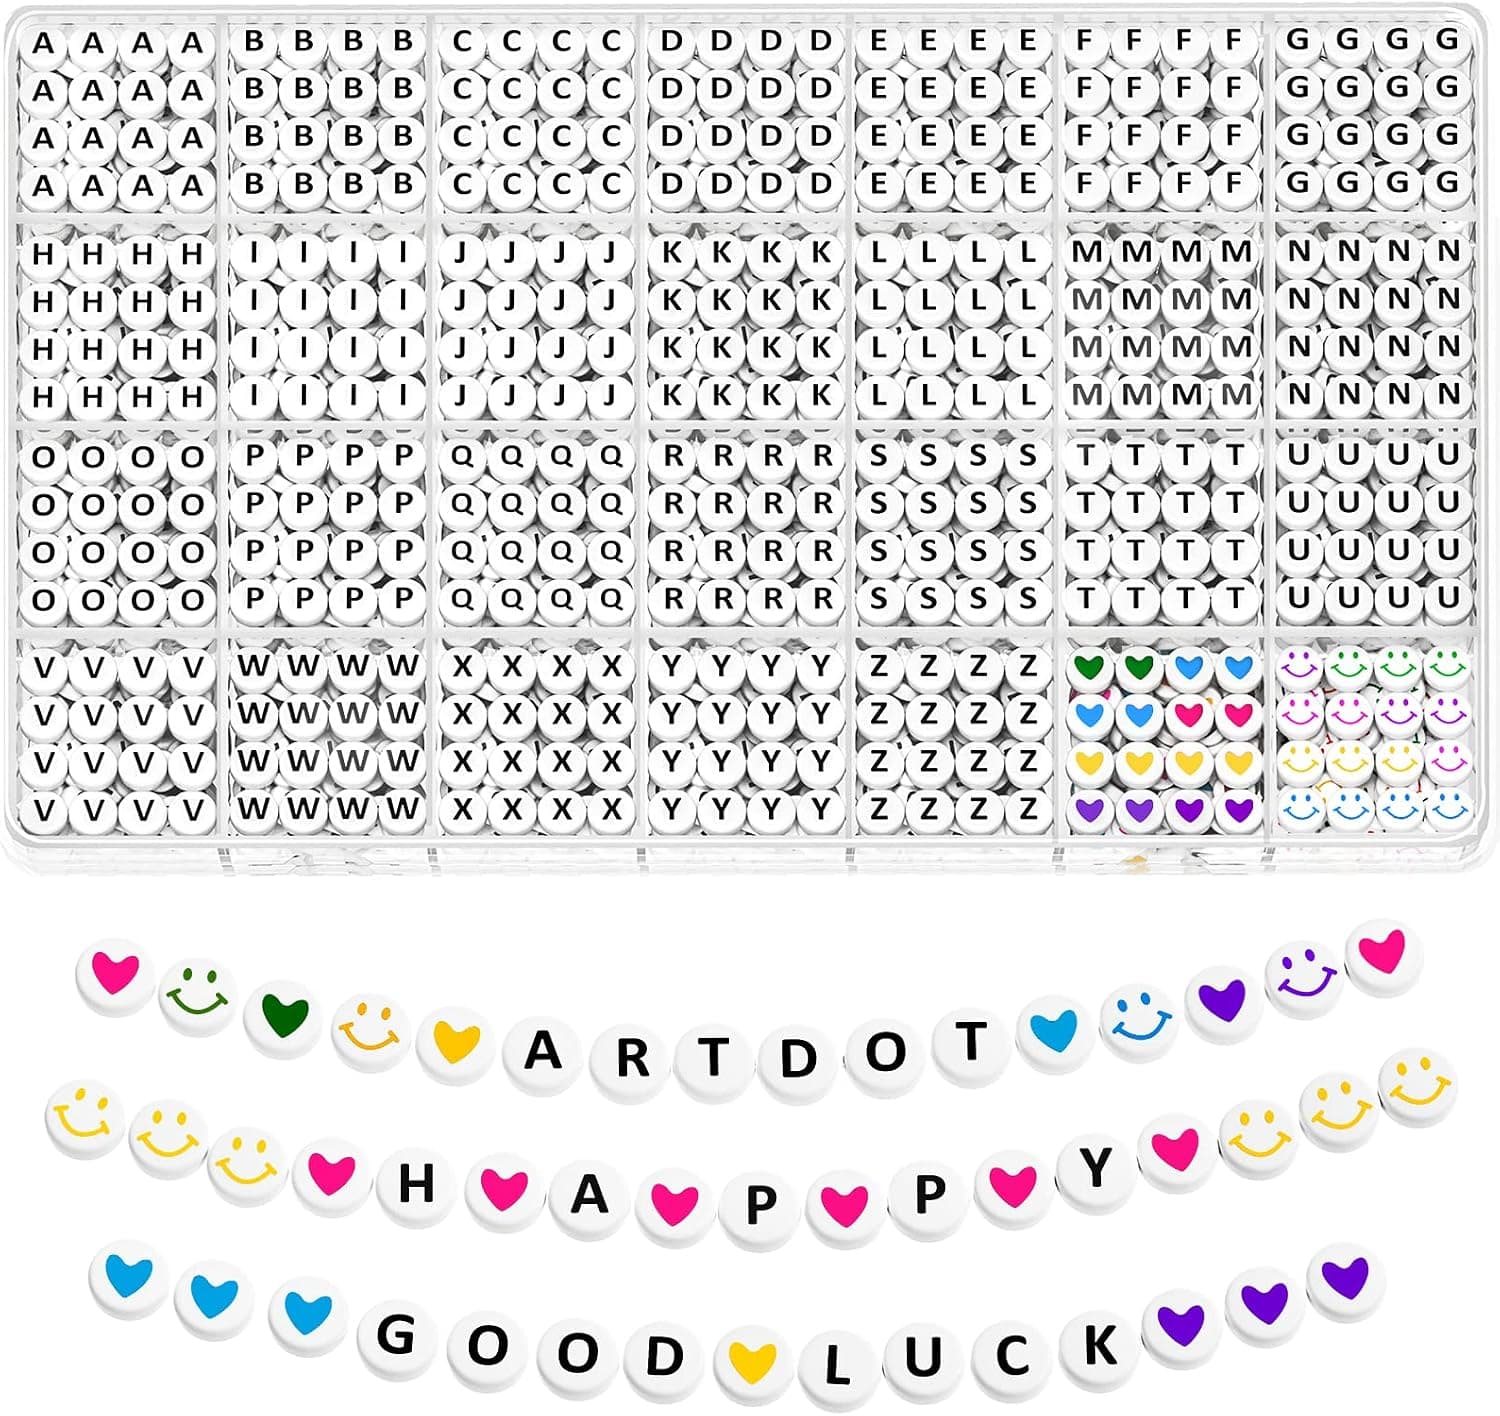
+ 28 styles give lots of variety for names, words and preppy looks
From our guide: Best Letter Beads for Name Bracelets
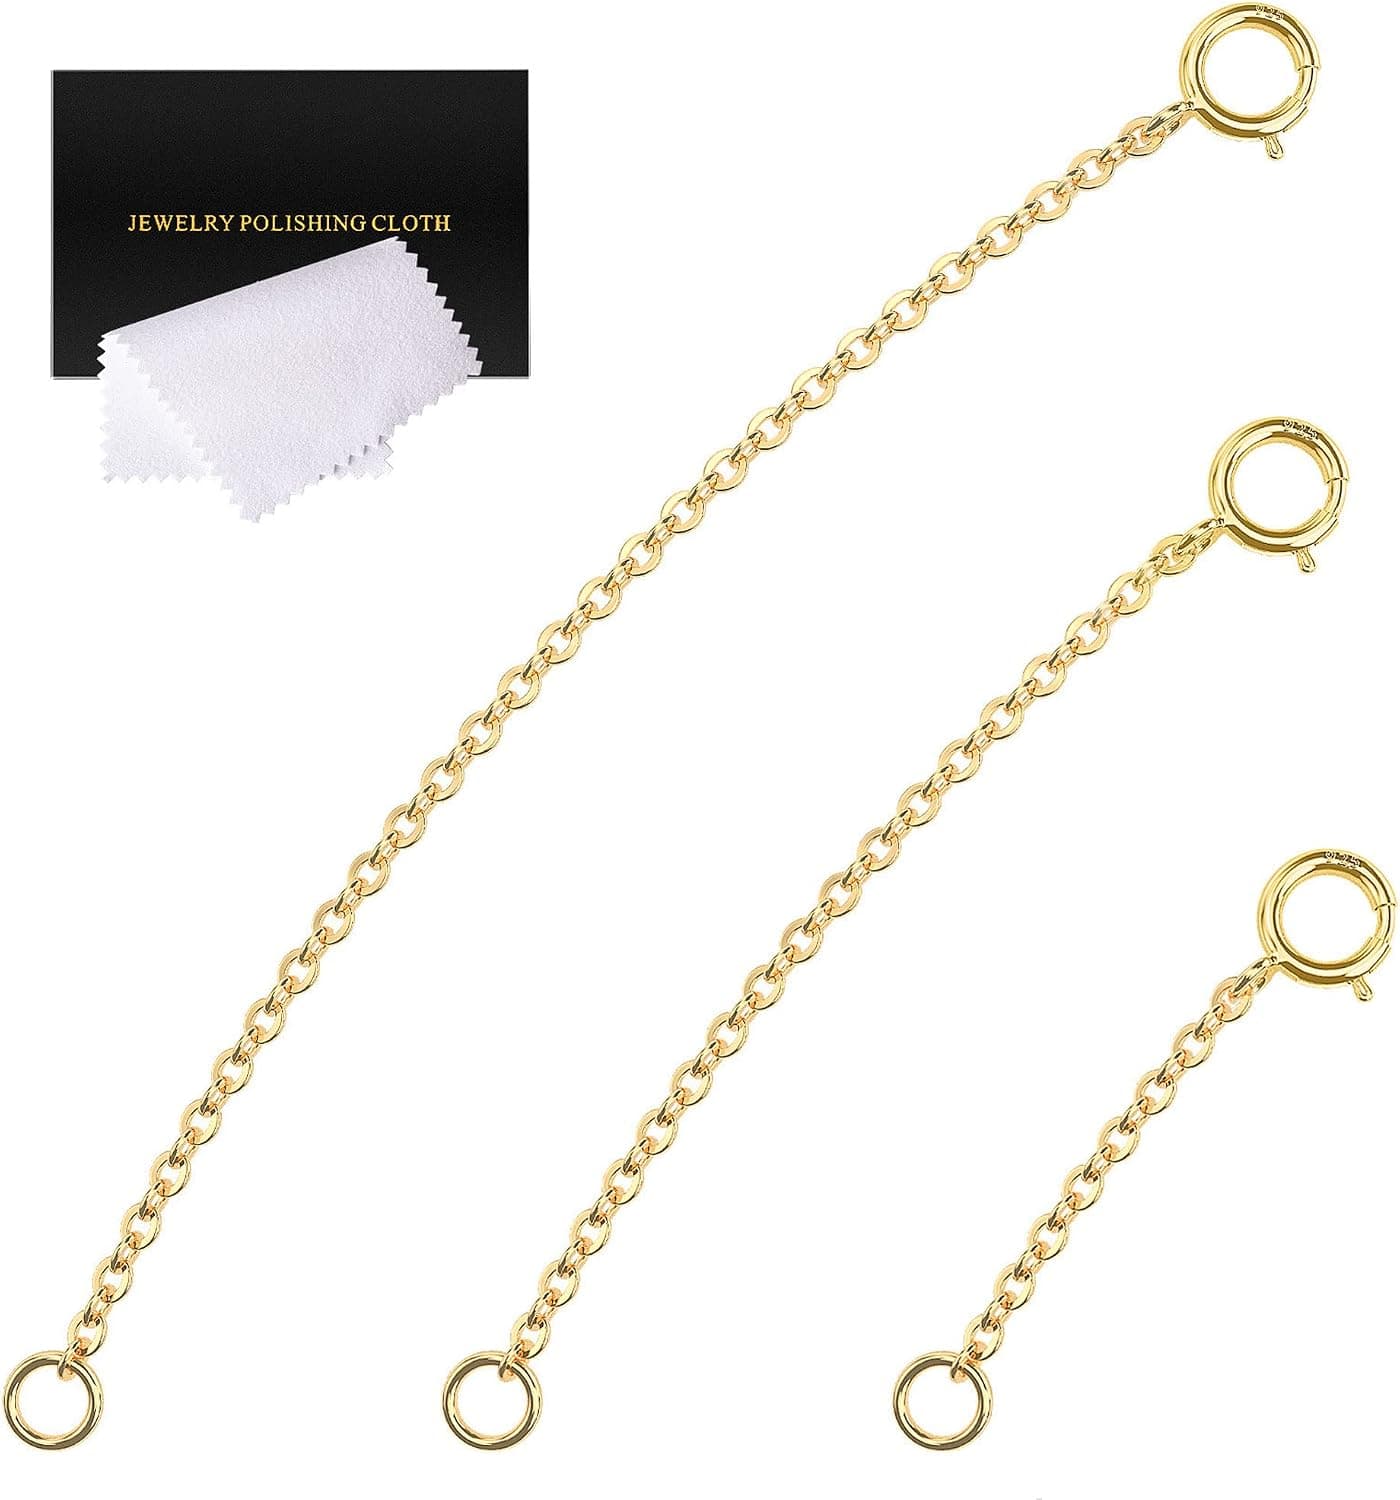
+ Three lengths let you fine tune necklace fit easily
From our guide: Best Jewelry Findings to Keep Stocked
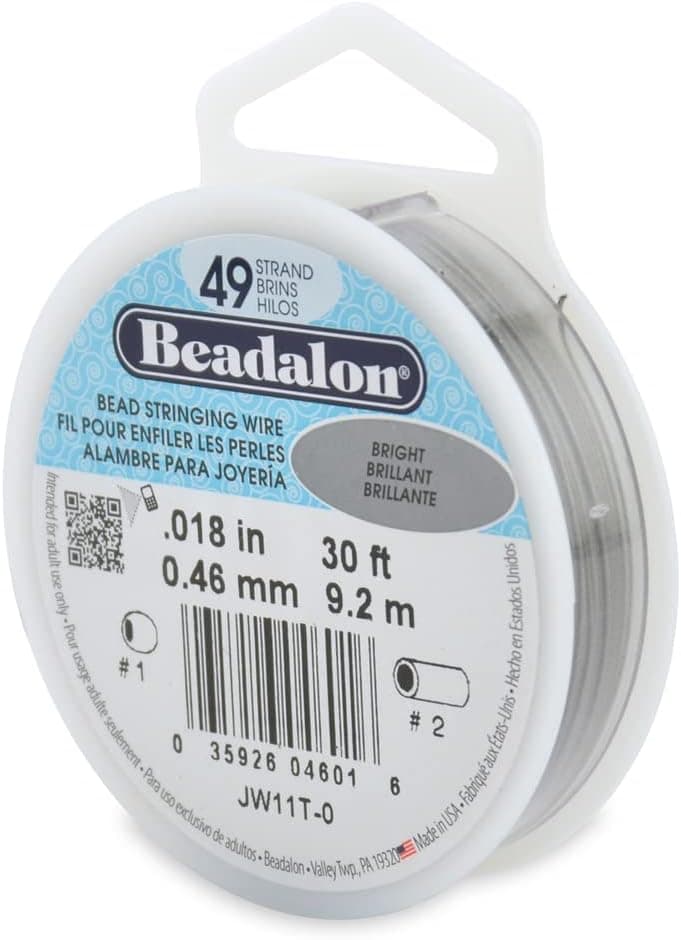
+ 49 strand construction drapes softly and resists kinking
From our guide: Best Beading Wire for Strung Jewelry
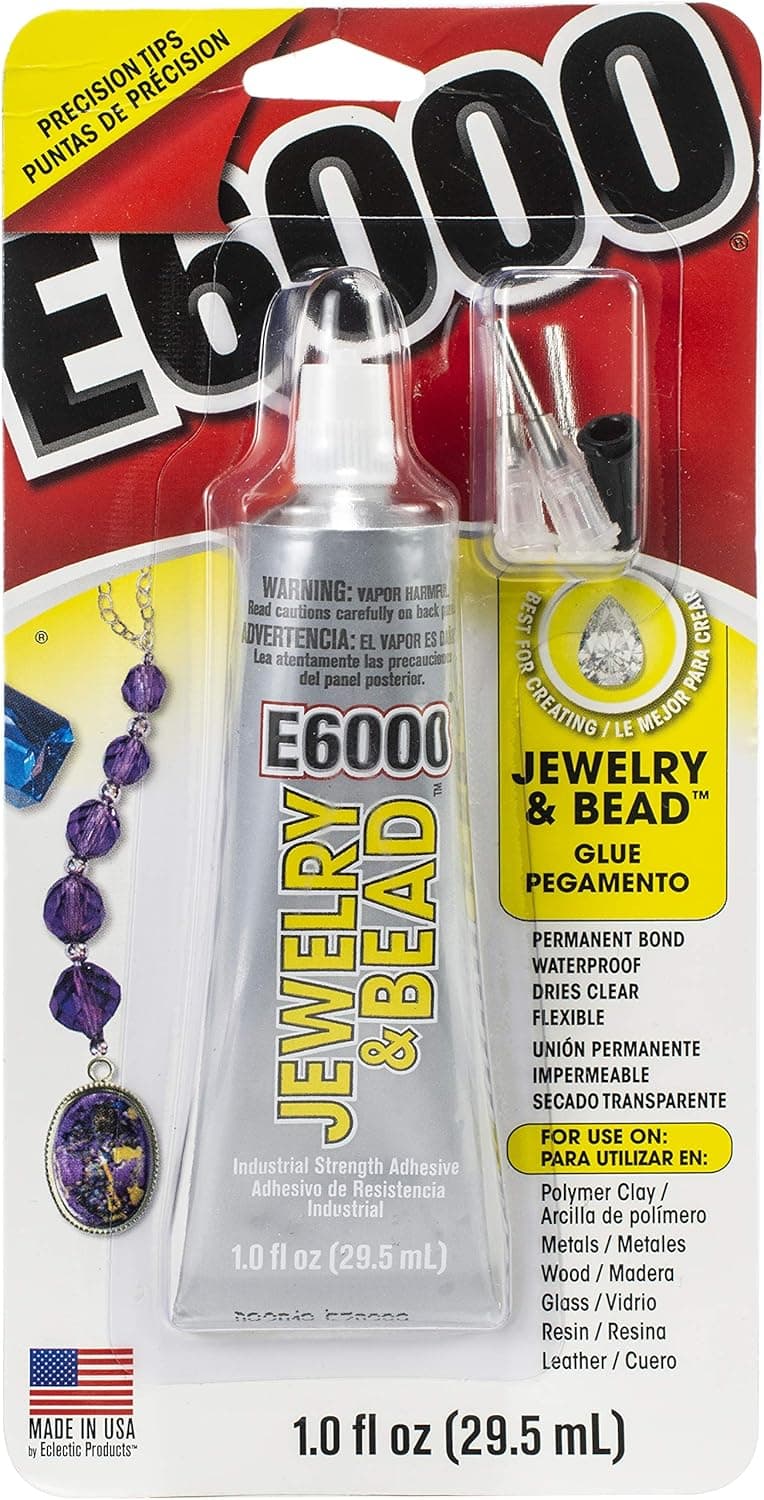
+ E6000 is a popular industrial strength craft adhesive
From our guide: Best Jewelry Glue for Metal, Gemstones, and Beadwork
Choose a method that suits your keychain
There are two beginner-friendly ways to build a beaded keychain. The first is a wire-based loop, where beads are strung on flexible beading wire and the ends are crimped around a split ring or lobster clasp. The second is a cord-based approach using strong nylon or waxed cord, with a knot at the end, which is simpler but looks a little more casual. Either one works, and the right choice depends on how heavy the beads are and how much wear the piece will see.
Keys are heavy and get dragged in and out of pockets, so a keychain faces far more stress than a necklace. For that reason many makers prefer a metal-based construction with a sturdy split ring or lobster clasp, and use the beads mainly for decoration. A bag charm hangs more gently, so lighter cord and delicate beads are usually fine there.
Gather materials and pick durable beads
You will need a keyring or lobster clasp, beads in your chosen colors, strong beading wire or nylon cord, two crimp beads, and a few spacer beads or a charm if you want extra detail. For durability, choose beads with smooth, well-drilled holes and avoid very thin glass beads that might chip if knocked against metal. Wooden, acrylic and resin beads are lightweight and hard to break, while glass and stone add weight and polish.
Check that the bead holes are large enough for your wire or cord to pass through twice, since doubling back through the end beads is a common way to make a secure finish. A bead scoop or small tray is useful for holding and sorting beads while you build the design. For a clean finish, flat-nose pliers will close the crimps, and a small wire cutter will trim excess ends.
Plan the layout and add a focal element
Lay the beads out in a row on a bead mat before you begin. Most keychain dangles are about three to six inches long, which is enough to look intentional without snagging on everything. Start with a larger accent bead or a charm at the bottom, then build upward with smaller beads, since the weight at the bottom helps the strand hang straight.
Letter beads are popular for keychains because they let you spell a name or short word, and birthstone-style beads or charms add a personal touch. Mix textures, such as a smooth bead beside a faceted one, to give the piece interest. If you are making several for gifts, plan the pattern once and repeat it so each one matches.
Build it with the wire method
Cut a piece of beading wire about four inches longer than the planned length. Thread a crimp bead, then the ring or clasp, then pass the wire back through the crimp so it forms a small loop around the ring. Close the crimp with pliers and tuck the tail into the first couple of beads. String your beads in order, then finish the other end with a crimp bead and a small loop or decorative end bead, pass the wire back through, and close the crimp.
Before trimming, gently pull on both ends to check the join. Trim any extra wire close to the beads. A tiny dab of jewelry glue on a knot or crimp cover can add security, but follow the instructions on the glue and work in a ventilated area, since many craft glues have strong fumes.
Build it with the cord method
For a cord version, cut a length of strong cord about twice the finished length. Fold it in half to form a loop, thread the loop through the ring, and pass the two tails through the loop to make a lark's head knot. Slide beads onto both strands together or one at a time, depending on the hole size, and finish with a tight overhand knot below the last bead. For extra strength, tie a second knot and trim the tails.
Cord can fray, so seal cut ends carefully. With synthetic cord, a quick pass near a flame melts the end and keeps it from unraveling, but this involves heat, so work slowly, keep the flame away from beads and keep a bowl of water nearby. If you would rather avoid heat, use a drop of clear glue on the knot instead.
Test it and care for it
Give the finished keychain a firm tug on each section, then attach your keys and carry it for a day or two before gifting it. Watch for loosening knots, slipping crimps or beads that snag. Handmade keychains see more wear than most jewelry, so a small repair now and then is normal, and you can reopen a crimp or retie a knot easily.
To keep it looking good, wipe beads with a soft damp cloth, let them dry fully, and avoid soaking natural stone or wooden beads. Store spare keychains flat in a small organizer so they do not tangle. A little planning at the start makes the finished piece much more satisfying to carry.
Design ideas to try
A simple color story is the easiest way to make a keychain look polished. Pick two or three colors and repeat them, or use a single color in different finishes, such as matte beside glossy. Seasonal sets are fun to make in batches, for example warm autumn tones or cool winter blues, and they give you a reason to practice the same technique several times.
For a bag charm, you can go longer and more playful, with a tassel, a small charm or a cluster of beads at the end. For a zipper pull, keep the dangle short so it does not catch in the teeth. Personal touches such as initials, a favorite color or a bead that reminds the recipient of something make the piece feel special. If you are selling or gifting several, make one prototype first to confirm the length and weight feel right.
Popular right now
- Seed Bead Size ChartArticle
- Choosing Beading WireArticle
- Best Jewelry Making Travel Cases for Crafting AnywhereBuying guide
- Best Bead Reamers for Enlarging and Smoothing Bead HolesBuying guide
- Best Bead Spinners for Fast Seed Bead StringingBuying guide
- Best Crimp Beads and Crimp Tubes for Secure BeadingBuying guide
Based on the last 28 days of search and visitor data.