Beading for Beginners
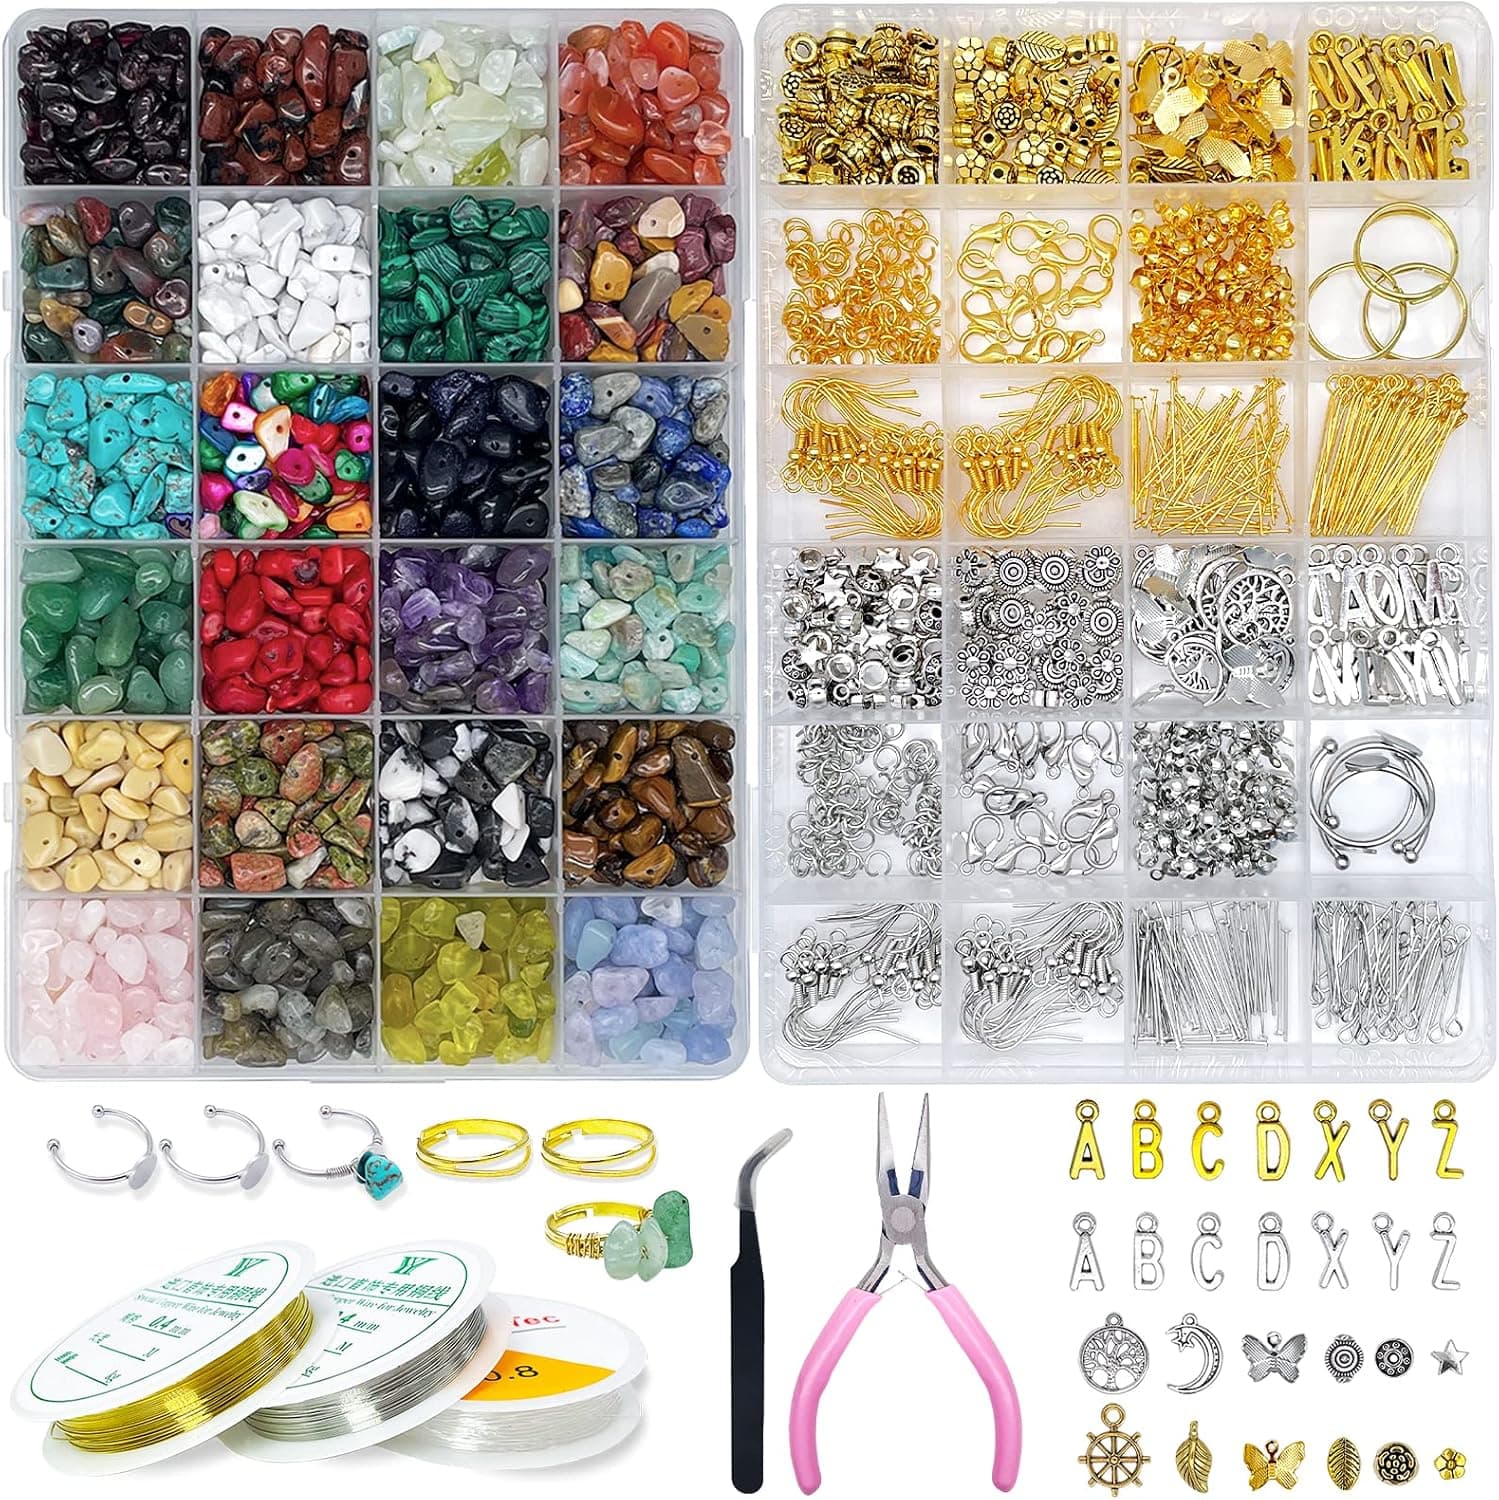
Beading looks intimidating from the outside because the hobby has so many specialties, but the truth is that you can make a wearable piece of jewelry on your first afternoon. The key is to ignore ninety percent of what the craft store sells and start with one narrow project. A simple strung bracelet teaches you how beads, stringing material, and findings work together, and every technique you learn later builds on that foundation. Before buying anything, decide on that first project and shop only for it. This keeps your starting cost low and prevents the classic beginner mistake of owning a mountain of supplies and no finished jewelry.
Your starter tool kit is smaller than you might expect. Chain nose pliers grip and tuck wire ends, round nose pliers form loops, and a good flush cutter trims wire cleanly. Add a bead mat so your beads do not roll off the table, and a bead board if you want help laying out designs to a set length. That is genuinely enough for months of work. Skip the giant multi-tool kits with fifteen mystery pliers; most of them go unused, and the quality of the three core tools matters far more than the quantity.
For materials, start with beads in the 6mm to 8mm range because they are easy to handle and their holes accept most stringing materials. Glass rounds, wood beads, and inexpensive gemstone strands are all forgiving choices. Pair them with flexible beading wire for clasped designs or a quality elastic cord for stretch bracelets. Buy findings, meaning clasps, crimp beads, and jump rings, in basic silver and gold tones so everything mixes. A small organizer box with adjustable compartments will keep the whole collection tidy from day one.
Learn techniques in a deliberate order. Stringing on flexible wire with crimped ends comes first, because it produces a professional-looking bracelet or necklace with only one new skill. Next, learn to open and close jump rings correctly, since nearly every repair and attachment depends on it. Then move to simple loops on head pins, which unlocks earrings and dangles. With just those three skills you can make most of the jewelry you see at craft fairs. Wireworking, bead weaving, and knotting can all wait until the basics feel automatic.
Expect your first few pieces to have flaws, and finish them anyway. A slightly gappy crimp or a lopsided loop teaches you more than an abandoned project ever will. Wear your early work or give it away, then remake the same design and notice how much faster and cleaner the second version comes out. Repetition is the real teacher in beading. Keeping a small notebook of what you made, the measurements you used, and what you would change turns every bracelet into a lesson you can reuse.
Finally, connect the hobby to a rhythm you can sustain. Set up a tray or corner where a project can stay out between sessions, because packing everything away after each session quietly kills momentum. Twenty minutes of beading a few evenings a week will carry you further than a single marathon weekend. Within a couple of months you will have a handful of finished pieces, a feel for which materials you love, and a clear idea of which direction, whether seed beads, wirework, or gemstones, you want to explore next.