Making Earrings at Home
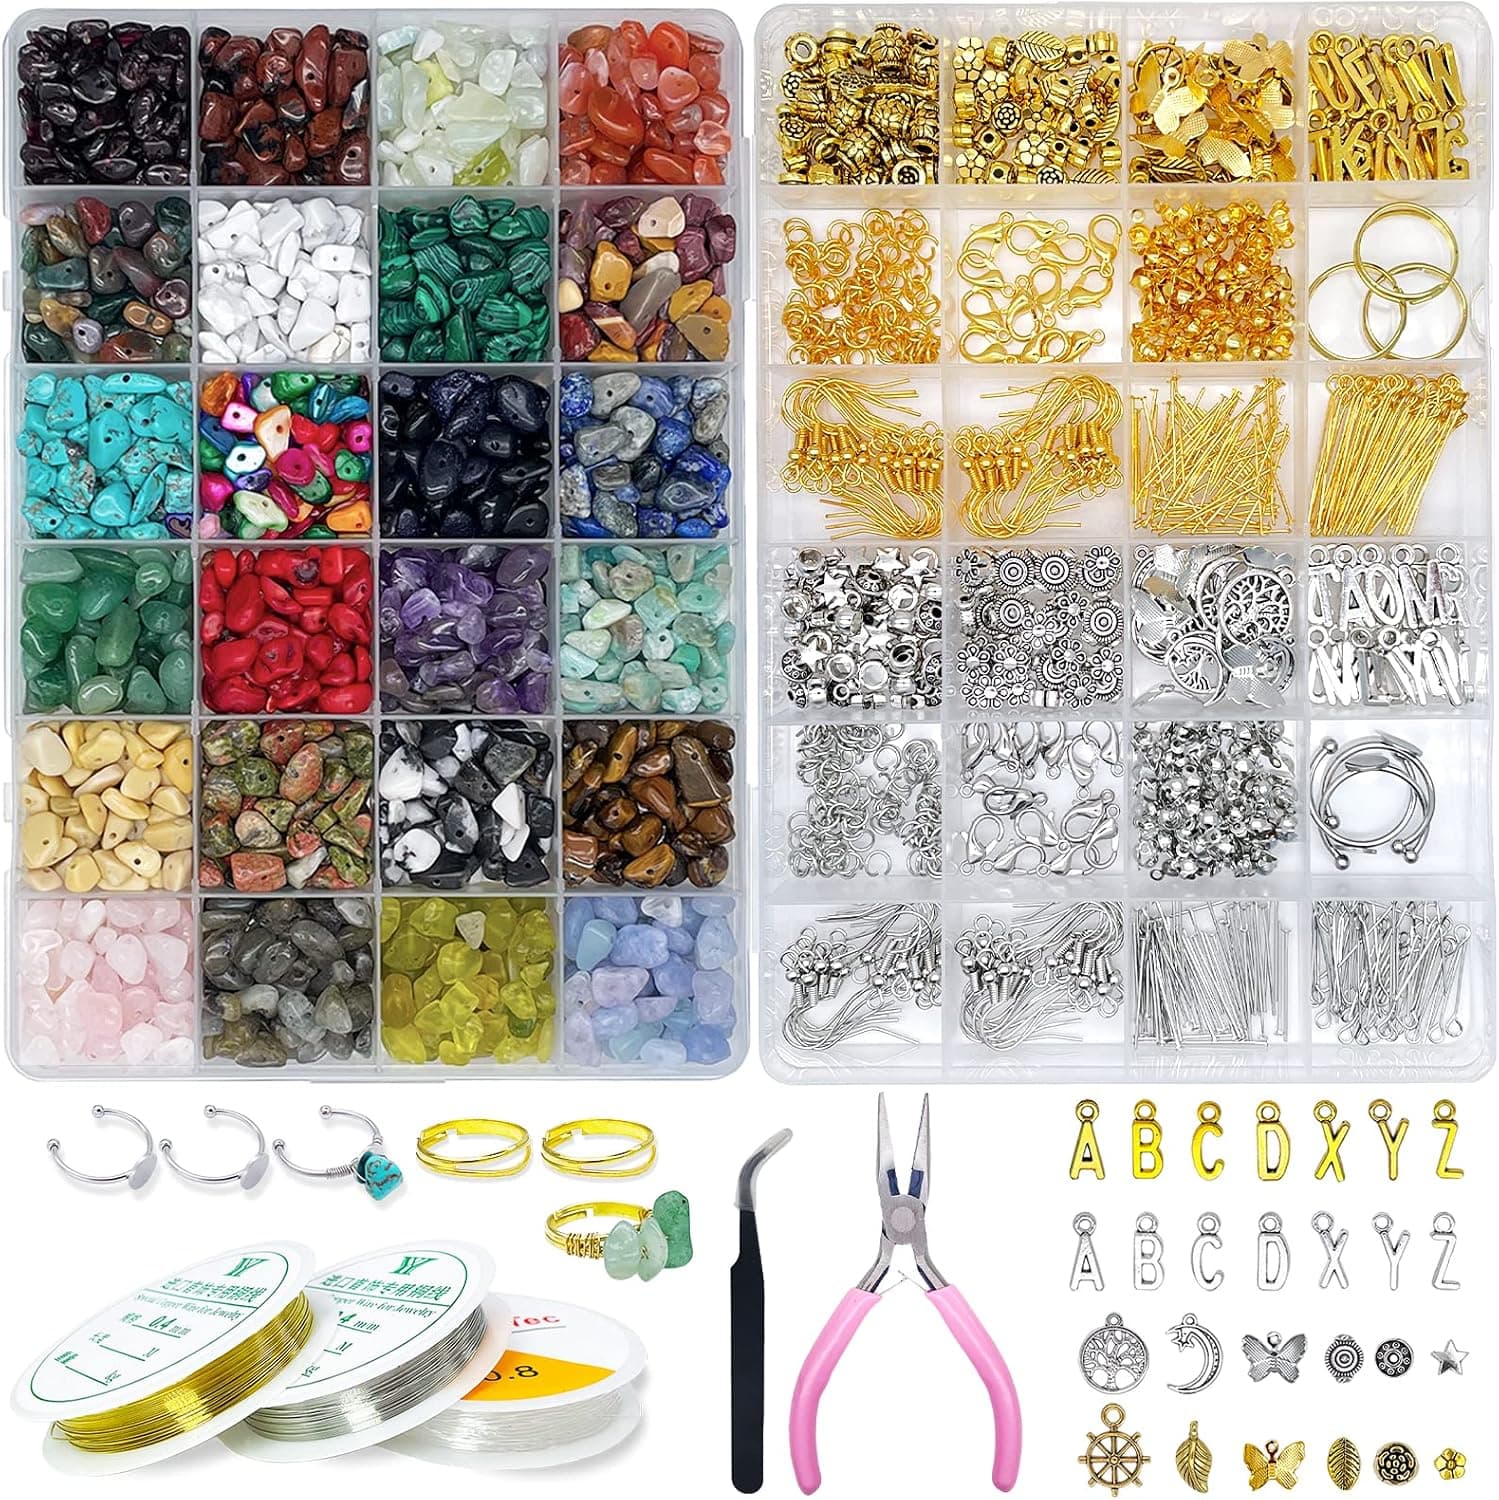
Earrings are the fastest gratification in jewelry making. A finished pair can take fifteen minutes, uses a tiny amount of material, and makes an ideal gift. They are also the perfect testing ground for skills, because each pair is a small canvas for trying a new bead, color story, or wire technique without committing to a full necklace worth of supplies. If you set up a small earring station with a handful of findings and your favorite beads, you will be surprised how often a spare quarter hour turns into a new pair.
Stock a compact findings wardrobe first. Ear wires are the hooks that pass through the ear; French hooks are the familiar curved style, leverbacks close securely for precious materials, and flat-pad studs suit glued or set designs. Head pins are straight wires with a stopper end for stacking beads into dangles, while eye pins end in a loop for connecting segments. Jump rings link components, and small bead caps and spacers add polish. For anyone with sensitive ears, buy ear wires in titanium, niobium, surgical stainless steel, or sterling silver, and label them clearly; nickel-containing mystery metal is the most common cause of itchy, irritated lobes.
Four styles cover the beginner-to-confident arc. The single-bead dangle is style one: slide a bead onto a head pin, form a simple or wrapped loop, and hang it on an ear wire. Style two is the stacked dangle, where two to four beads and spacers build a composition on one pin; vary sizes so the largest bead sits at the bottom for a balanced silhouette. Style three is the chain drop, where a short length of fine chain hangs from the ear wire with a small bead terminating it, giving movement and length cheaply. Style four is the hoop, either purchased beadable hoops you slide beads onto or wire you shape yourself. Master these and you can reproduce a large share of what boutiques sell.
Comfort decides whether earrings get worn or abandoned in a drawer. Weight is the main variable: under five grams per earring feels light, and beyond ten grams most wearers notice drag by evening. Big looks do not require big weight if you choose hollow metal, resin, wood, or acrylic for volume and save stone and glass for accents. Balance matters too; a dangle that hangs crooked usually has its loop formed off-center, which is fixable in seconds with chain nose pliers. Check that dangles swing freely on the ear wire loop rather than binding, since free movement is what gives earrings their life.
Consistency between the two earrings of a pair is the quiet skill that elevates homemade work. Cut both wires from the same spool at the same time, stack beads for both earrings before assembling either, and form loops at the same marked spot on your round nose pliers. Lay the pair side by side and view them at mirror distance rather than under your nose; tiny differences invisible at wearing distance do not matter, while length mismatches of even two millimeters do. If you sell or gift your work, a quick calipers check of finished length becomes a two-second quality gate.
Finally, treat hygiene and skin safety as part of the craft. Wipe ear wires with alcohol before first wear and between wearers, never share unsterilized earrings, and be honest about metals when gifting, since roughly one in ten people reacts to nickel. Store finished pairs on a card with both earrings pinned together so they never separate. Once the basics feel routine, develop a signature: a recurring color pairing, a particular stone, or a distinctive silhouette. A recognizable style is what turns a pile of nice earrings into a body of work people associate with you.