Knotting Pearls
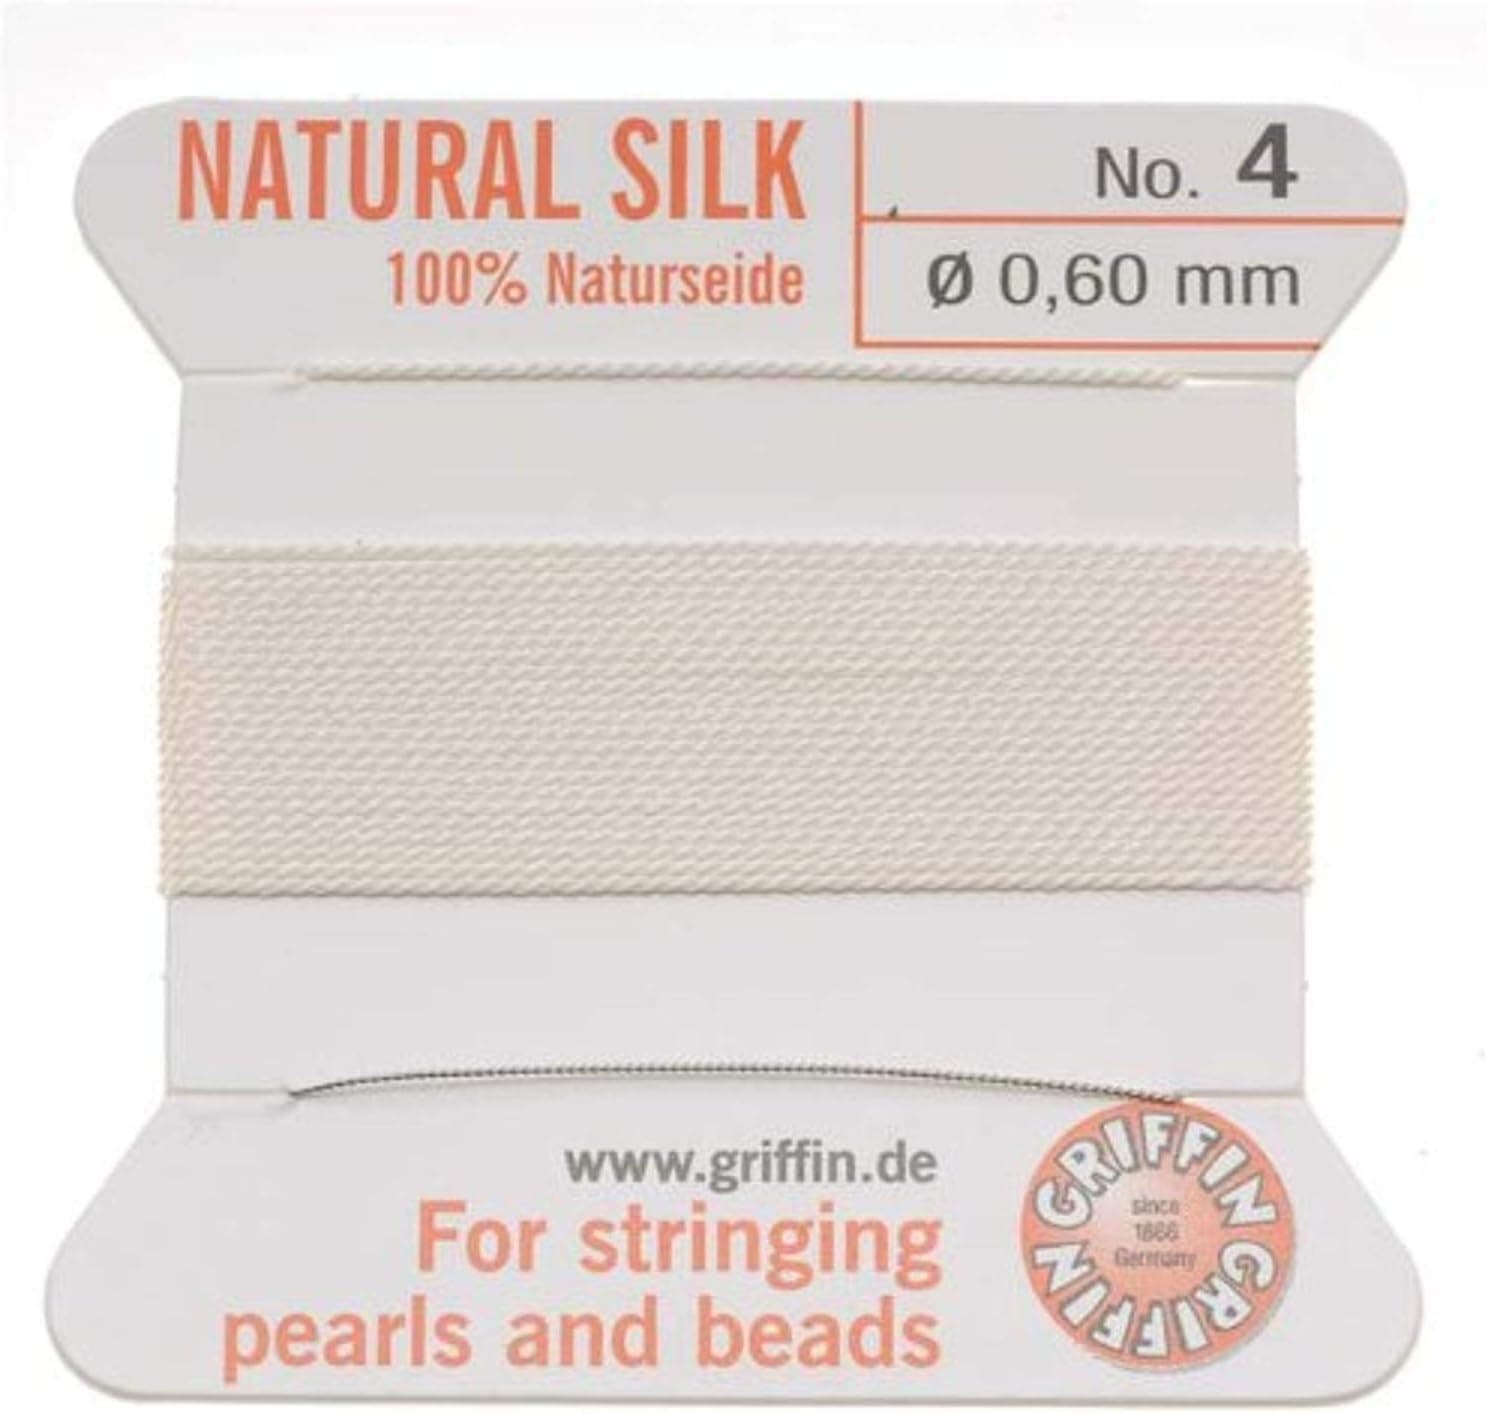
Knots between pearls prevent nacre-damaging friction, contain damage to one pearl if a strand breaks, and add fluid drape. Traditional silk cord, sized to pass through pearls twice, comes on cards with a needle attached; nylon resists stretch better but is less supple. The technique is one overhand knot repeated: form a loose loop, guide it down snugly against the pearl with a fine tool, then withdraw the tool while pulling tight. Consistency comes from steady tension and checking every five pearls for gaps. Finish with gimp (French wire) at the clasp to protect silk from metal abrasion, or simpler bead tips. The same technique restores old, stretched, or discolored pearl strands. A knot tied between every pearl is the signature of a well-made pearl strand, and the technique is far older than any modern finding. The knots serve three practical purposes. They prevent pearls from grinding against each other, which matters because nacre is soft and abrades. They fix each pearl in place so a broken strand sheds at most one pearl instead of pouring the whole necklace onto the floor. And they add a fluid, articulated drape that a plain strung strand cannot match. Knotting looks like an expert-only skill, but it is really one knot repeated with patience, and a practice strand of inexpensive beads will teach it in an evening.
Traditional pearl knotting uses silk cord
Traditional pearl knotting uses silk cord, prized for the way it knots tightly and drapes softly. Silk is sold on cards with a fine twisted-wire needle already attached, which solves the threading problem neatly. Choose the heaviest silk that passes through your pearls twice if possible, commonly size E or F for average pearls; a fatter cord makes fatter, more visible knots, which is partly an aesthetic choice. Modern alternatives include nylon cord, which resists stretch and moisture better, at some cost in suppleness. Whatever the material, condition the cord by stretching it firmly before you begin, because silk especially will relax over time and leave gaps beside your knots.
The working method is simple to describe
The working method is simple to describe. String all pearls onto the cord first if their order matters. Tie an overhand knot, then slide it snugly against the previous pearl before tightening. The craft lies entirely in that sliding step: form a loose overhand loop, insert a fine tool, tweezers, an awl, or a dedicated knotting tool, into the loop, and use it to guide the knot down the cord until it sits flush against the pearl. Withdraw the tool at the last moment while pulling the cord tight, and the knot lands exactly where you want it. A knot tied even a millimeter short of the pearl leaves a sloppy gap, so early practice is mostly about learning that final placement.
Consistency comes from rhythm and tension
Consistency comes from rhythm and tension. Keep the strand under light tension, seat each pearl fully against its knot before tying the next, and pull every knot with the same firmness. Check your work every five pearls by holding the strand up; gaps announce themselves immediately. Expect your first practice strand to be uneven and your third to look respectable. A full necklace of sixty pearls takes an experienced knotter under an hour and a beginner a pleasant evening, which is part of why hand-knotted strands command the prices they do.
Finishing is where a few options diverge
Finishing is where a few options diverge. The classic method uses gimp, also called French wire, a tiny coil of fine wire that slips over the silk where it passes through the clasp, protecting the cord from metal abrasion at the highest-wear point. Thread the gimp, pass through the clasp ring, then back through the final pearl, and secure with knots hidden between the last pearls. Simpler finishes use bead tips, small metal cups that close over a final knot and hook onto the clasp. Either way, the goal is that no bare silk touches metal edge-to-edge. On restrings, always cut the old cord and inspect the pearls' holes for wear before deciding on new cord thickness.
Knotting is not only for pearls
Knotting is not only for pearls. Gemstone rounds, vintage glass, and wooden malas all benefit from the same treatment, and a knotted strand in a contrasting cord color is a design statement of its own. It is also the standard restoration service for inherited pearls, since old silk stretches, discolors, and weakens with decades of wear; if a family strand shows gaps between pearls or fraying near the clasp, it is asking to be restrung. Learn the technique once and you gain both a design tool and a genuinely useful repair skill that friends and family will call on.
Frequently asked questions
Why are pearls traditionally strung with knots between them? Knots prevent pearls from grinding against each other since nacre is soft and abrades, fix each pearl in place so a broken strand loses at most one pearl, and add fluid drape a plain strung strand can't match.
What cord is used for traditional pearl knotting? Silk cord, prized for how tightly it knots and how softly it drapes, sold on cards with a fine twisted-wire needle already attached, chosen in the heaviest weight that passes through the pearls twice.
How do you tie a knot snugly against a pearl? Form a loose overhand loop, insert a fine tool like tweezers or an awl into the loop to guide the knot down flush against the pearl, then withdraw the tool at the last moment while pulling the cord tight.
What is gimp used for in pearl knotting? Also called French wire, it's a tiny coil of fine wire that slips over the silk where it passes through the clasp, protecting the cord from metal abrasion at the highest-wear point.