How to Make a Beaded Lanyard: Materials, Length and Clasps
Published How we research
A beaded lanyard is a practical craft that turns a plain badge strap into something personal, and it works equally well for keys, ID cards, whistles or glasses. The core steps are choosing a strong cord or wire, deciding on the length, stringing beads in a pattern, and adding a clasp or ring that suits what you are carrying. This guide explains each step, with notes on comfort and safety, so you end up with a lanyard that looks good and holds up to daily use.
Products from this article
The highest-scoring picks from the buying guides this article links to. Scores are our editorial assessment, not customer ratings.
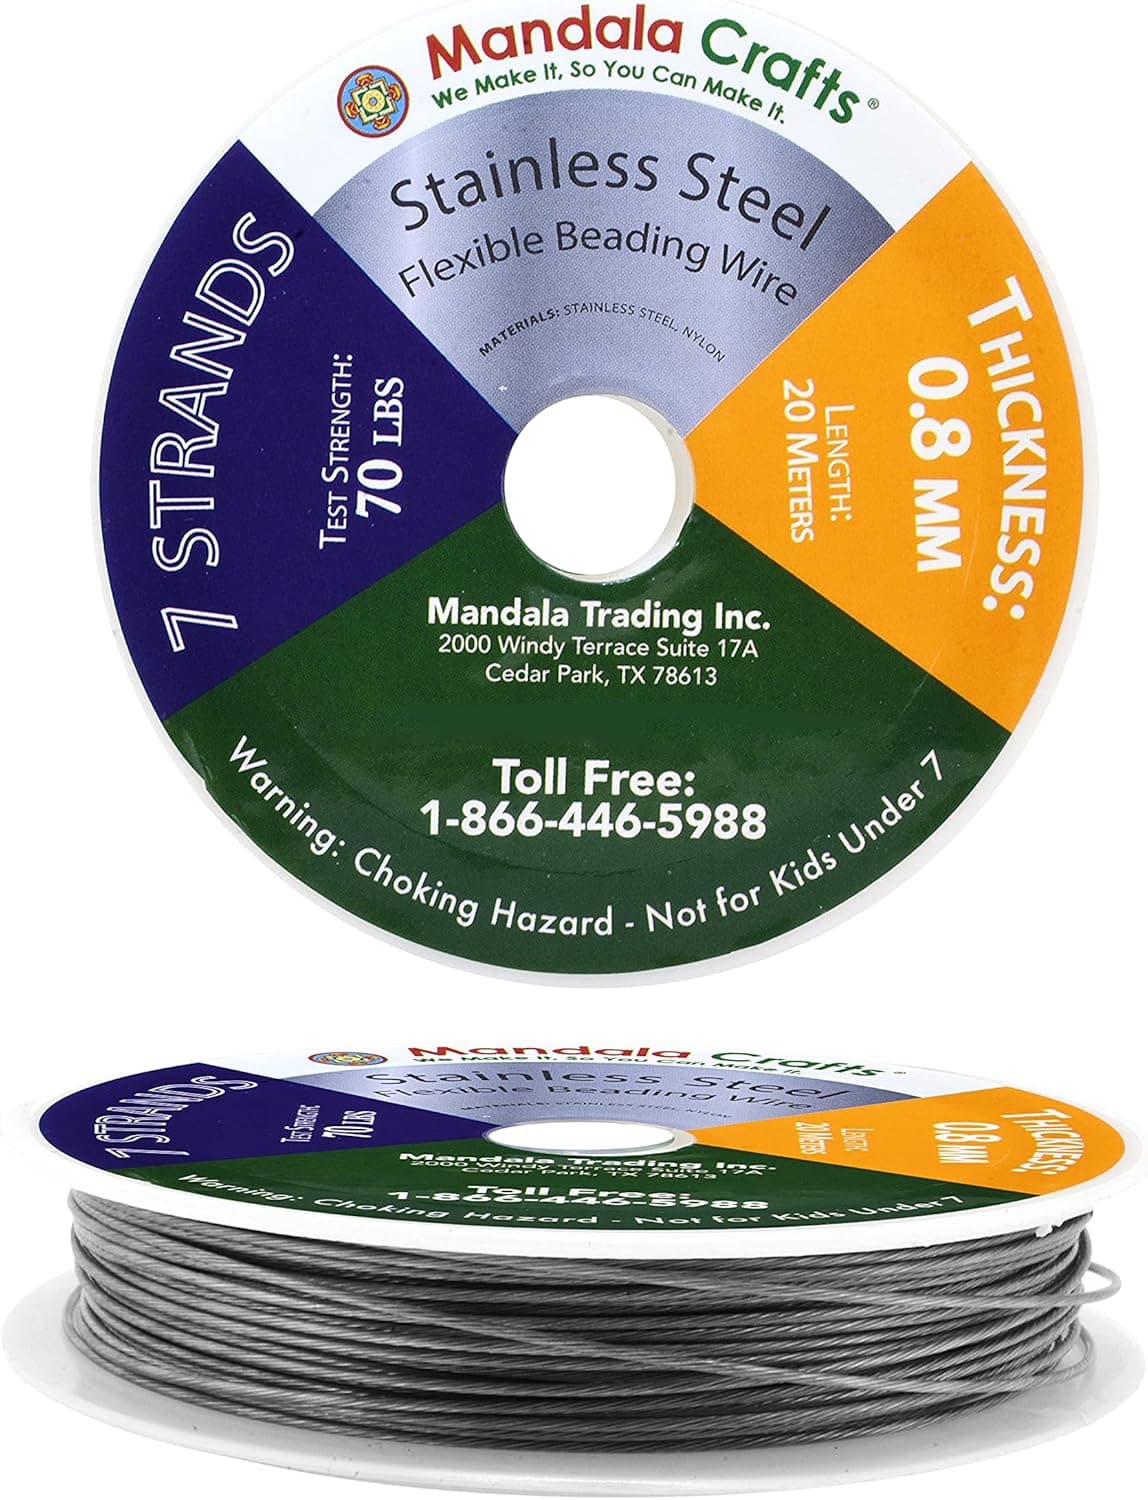
+ 49 strand construction drapes softly and resists kinking
From our guide: Best Beading Wire for Strung Jewelry
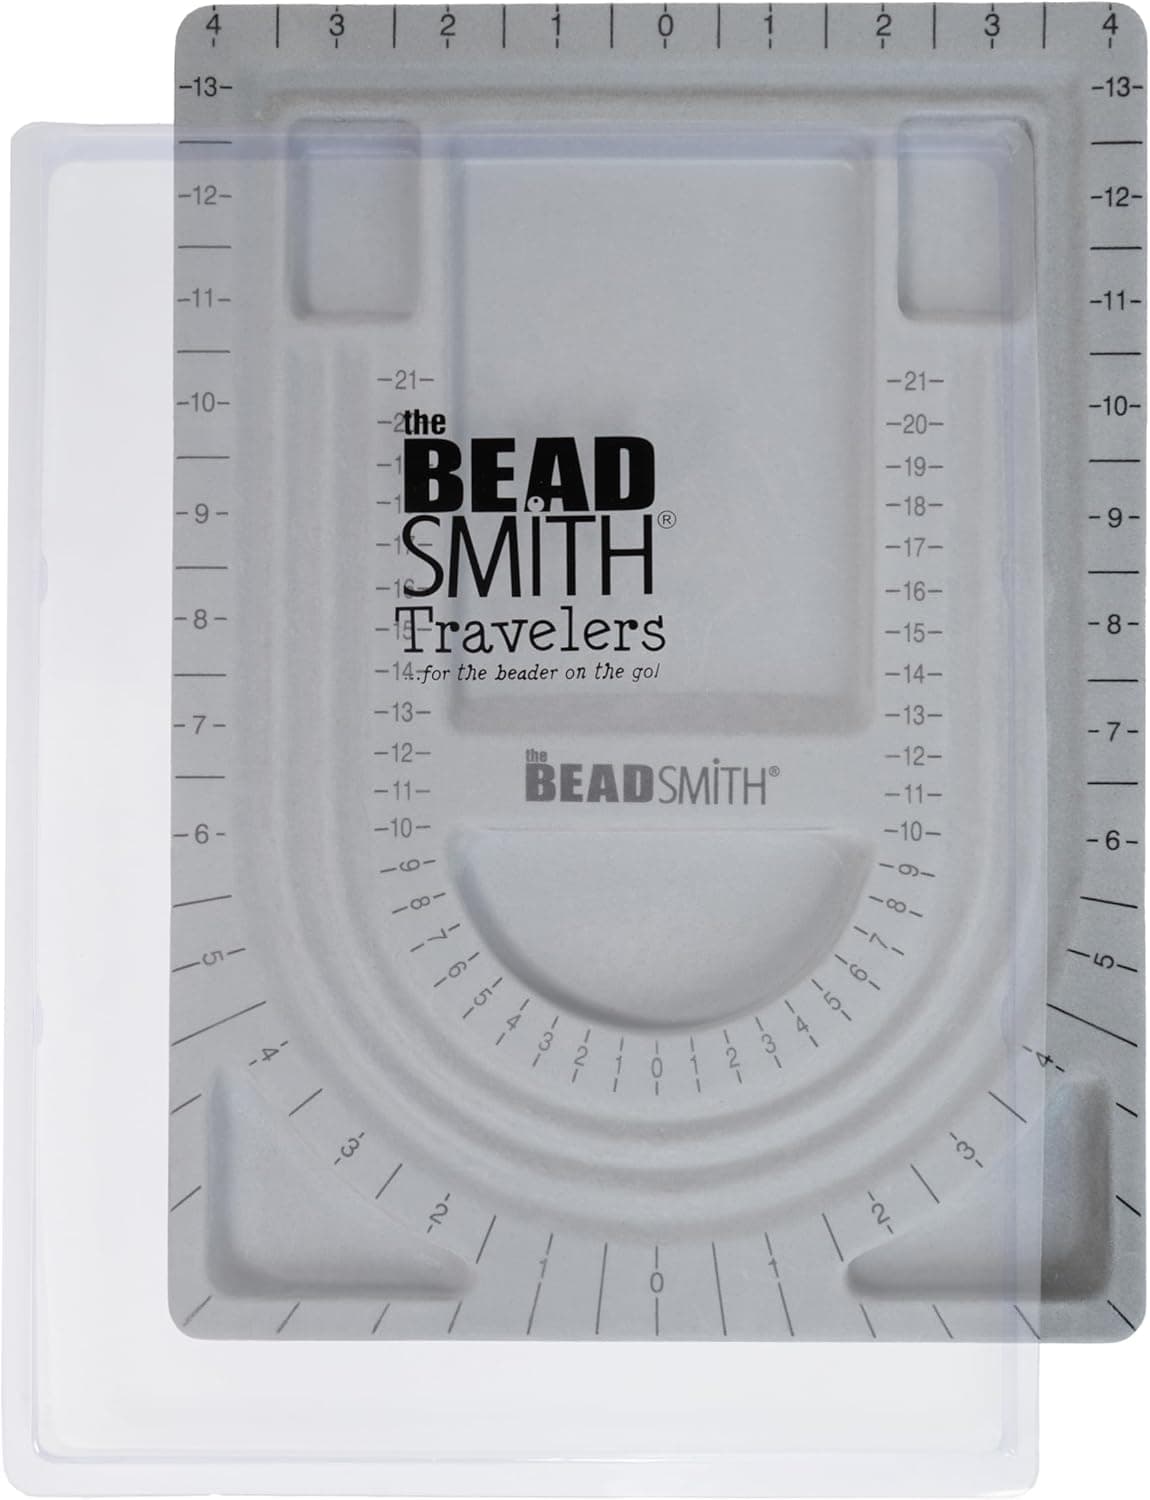
+ Cover protects work in progress from dust and spills
From our guide: Best Bead Boards for Designing Necklaces and Bracelets
+ Locking design reduces accidental opening versus basic magnets
From our guide: Best Magnetic Jewelry Clasps for Easy One-Hand Fastening
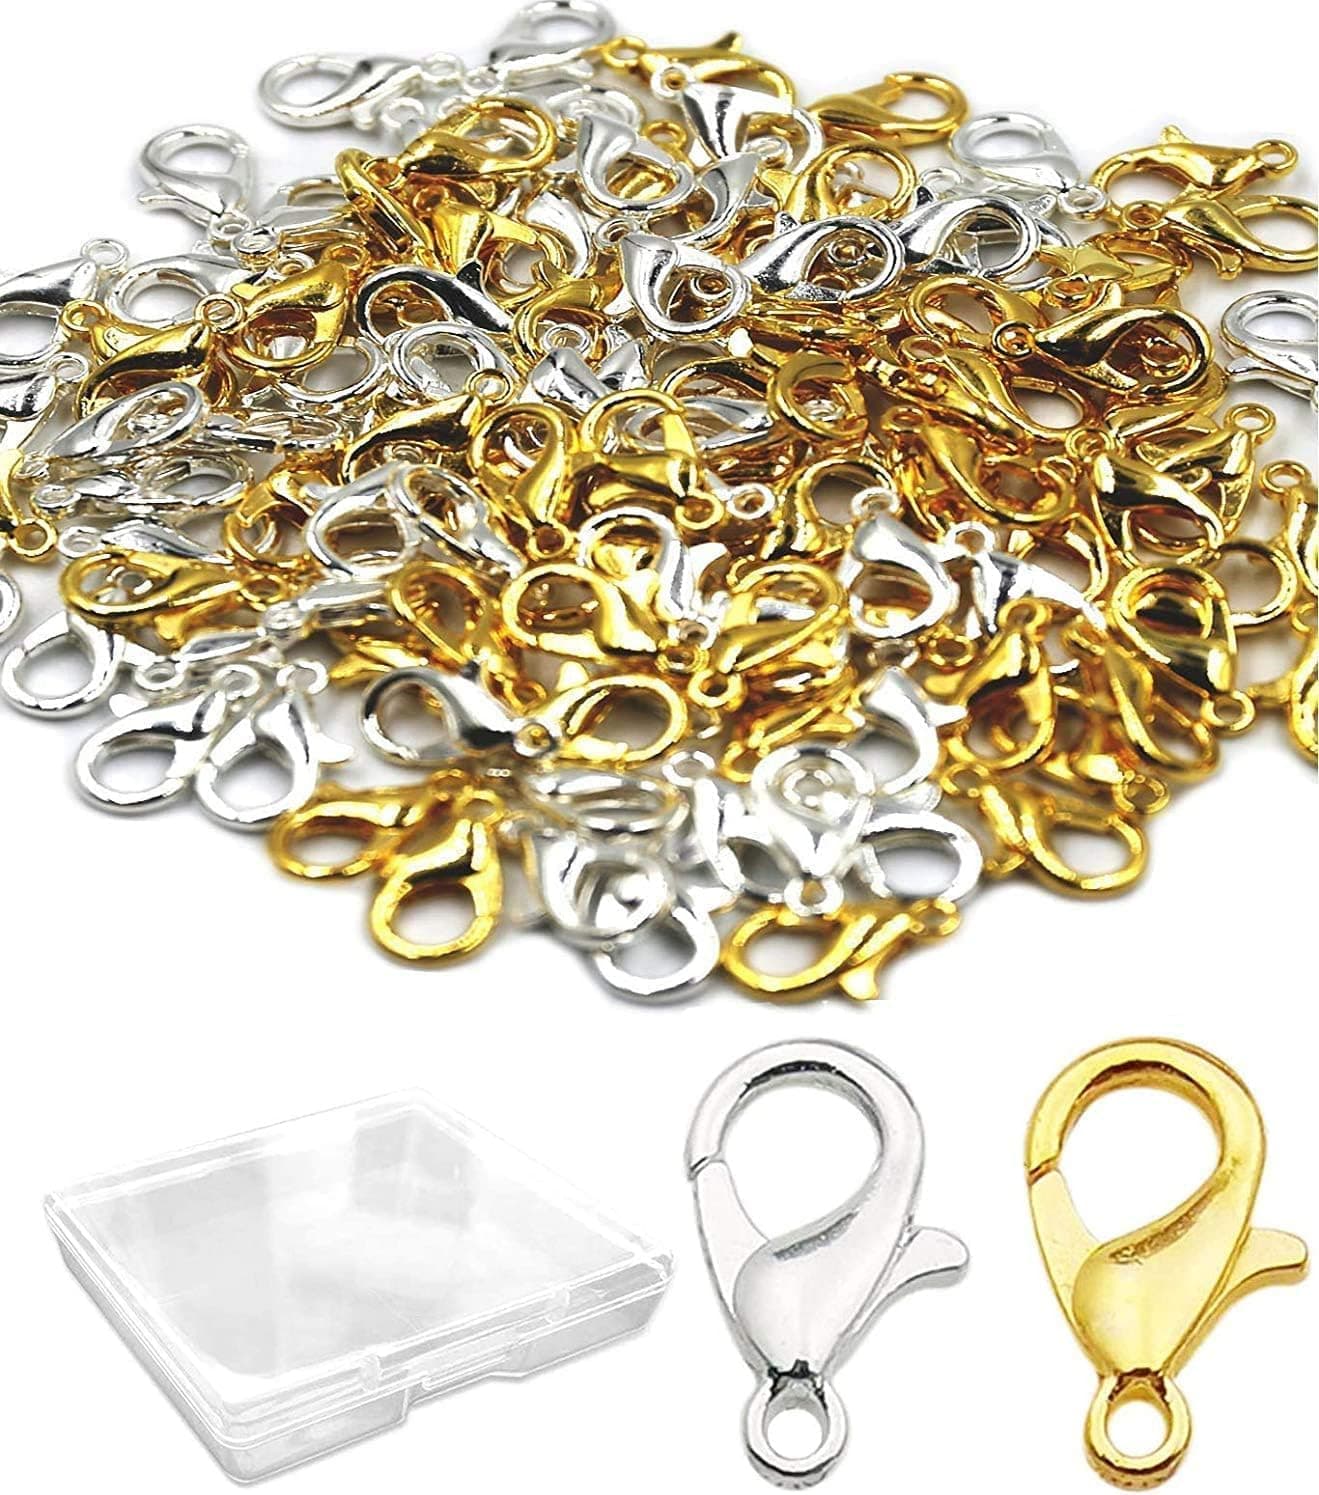
+ Stainless steel clasps resist rust and tarnish in daily wear
From our guide: Best Lobster Clasps for Jewelry: Reliable Closures Ranked


Decide what the lanyard will carry
The use determines nearly every choice. A light ID badge can hang from delicate beads on flexible wire, while a set of keys or a heavier badge holder calls for stronger materials and a sturdier clasp. Glasses holders need soft, lightweight materials near the ears and a secure loop for the lens arms.
Think about where it will be worn too. A lanyard worn at work all day should be comfortable against the neck and lie flat under clothing, while one for occasional use can be more decorative. If you work around machinery or in a school, ask about safety rules, because many workplaces require a breakaway clasp that releases under strain.
Choose materials
Beading wire coated in nylon is a sturdy option, since it holds its shape and resists stretching. Strong nylon cord also works, especially if you want knots between beads. Avoid stretch cord for heavy loads, because it can stretch or snap under weight. For beads, mix a few larger accent beads with smaller spacers, and choose smooth holes that will not chafe the cord.
Lightweight beads such as acrylic, wood or small glass beads keep the lanyard comfortable. Heavy stone beads look elegant, but their weight can tug at the neck over a long day. For hardware, you will need a lobster clasp or a swivel clasp for the badge, a jump ring, and crimp beads if you use wire.
Set the length
Lanyards are typically worn so the badge hangs around the chest, and the common length is somewhere in the range of 30 to 36 inches around, though many people prefer slightly shorter or longer. Measure an existing lanyard that fits you well, or drape a piece of string around your neck to find your ideal drop. The strand needs to slip over the head easily unless you add a clasp or breakaway connector.
If the loop is closed, make sure it is long enough to go over the head without strain. If it opens with a clasp, you can make it a little shorter. Add an inch or two for finishing hardware to the total, and cut your wire or cord longer than the finished length so you have room to work.
If you are unsure, make the first lanyard slightly long and shorten it afterward, since removing a few beads is easier than adding length. Try it on in front of a mirror and walk around with it for a few minutes before you trim the wire or close the final crimp. The badge should sit where it is easy to read and reach, without bouncing against the body or catching on a desk when you lean forward.
String the beads
Lay out your design on a bead board or mat first, so you can see the pattern before you commit. A repeating pattern of two or three bead types looks neat, and a focal bead near the bottom can add weight and balance. Thread the beads onto the wire in order, working steadily and checking length as you go.
Because a lanyard is long, it helps to work in sections and compare against your measurement. A tape or ruler beside the work saves guessing. When the strand reaches the right length, set it aside and prepare the finishing hardware, then check that the strand lies flat without kinks.
Finish with the right clasp
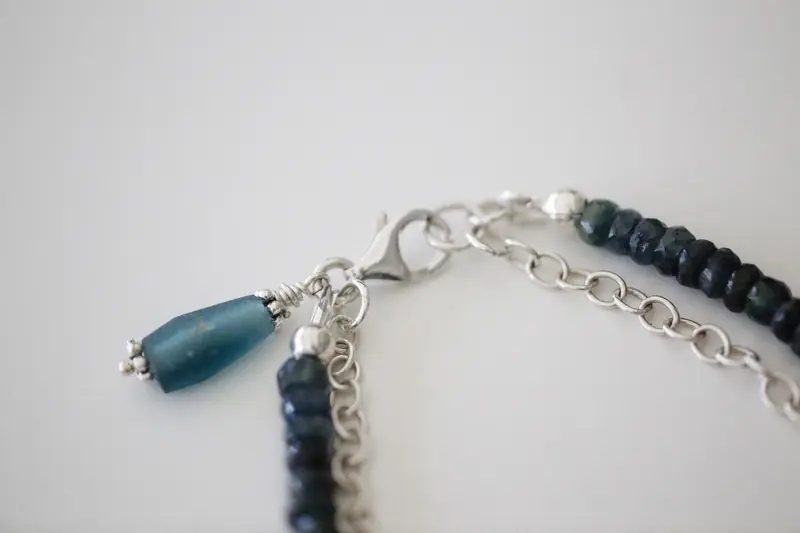
At one end, thread a crimp bead and the badge clasp, then pass the wire back through the crimp bead and a few beads, and close it with crimping pliers. Repeat at the other end with a jump ring or the second half of a closure. Trim the tails close and tuck them into the beads so they do not poke.
A breakaway clasp, which separates under strain, is recommended in many workplaces and around moving equipment. A lobster clasp is secure for a badge holder, and a magnetic clasp is easy to open one-handed. Test whichever you use by pulling gently and make sure nothing will catch on clothing or hair.
Care and safety
A beaded lanyard is exposed to more movement than a necklace, so check it periodically. Look for kinks in the wire, slipping crimps and worn spots, and fix them promptly. If you notice damage near the neck area, retire the lanyard and make a new one rather than risking a break.
Keep beaded lanyards away from machinery, open flames and anything that could snag them. Small children should not wear long cords unsupervised, because long strands can be a strangulation hazard. For a classroom, consider shorter lengths or breakaway designs.
Customization ideas
Personalize a lanyard with initials, a school or team color scheme, or a seasonal palette. Pairing a lanyard with a matching bracelet makes a nice gift set. For teachers and nurses, a lanyard with a few charms or a small bead cluster near the badge is popular and practical.
If you plan to sell lanyards, make a few lengths and clasps so customers can choose, and keep a sample of each so you can show how they look when worn. Photograph them on a plain background for clear listings.
A simple way to make a lanyard feel finished is to repeat one accent bead or color at regular intervals along the strand. It ties the design together and helps you keep the pattern consistent while you string. If your workplace has a dress code or color policy for badges, check it before you pick bright colors or large decorations.
Popular right now
- Seed Bead Size ChartArticle
- Choosing Beading WireArticle
- Best Jewelry Making Travel Cases for Crafting AnywhereBuying guide
- Best Bead Reamers for Enlarging and Smoothing Bead HolesBuying guide
- Best Bead Spinners for Fast Seed Bead StringingBuying guide
- Best Crimp Beads and Crimp Tubes for Secure BeadingBuying guide
Based on the last 28 days of search and visitor data.