Elastic Bracelets That Last
Stretch bracelets are the most approachable project in beading, no clasps, no crimps, no tools beyond scissors, yet they are also the design most likely to fail in daily life. Everyone has seen a snapped elastic scatter beads across a floor. The difference between a bracelet that lasts a month and one that lasts years comes down to four controllable factors: the cord you choose, how you prepare it, the knot you tie, and how kindly the finished bracelet is treated. None of these steps adds more than a minute to the build.
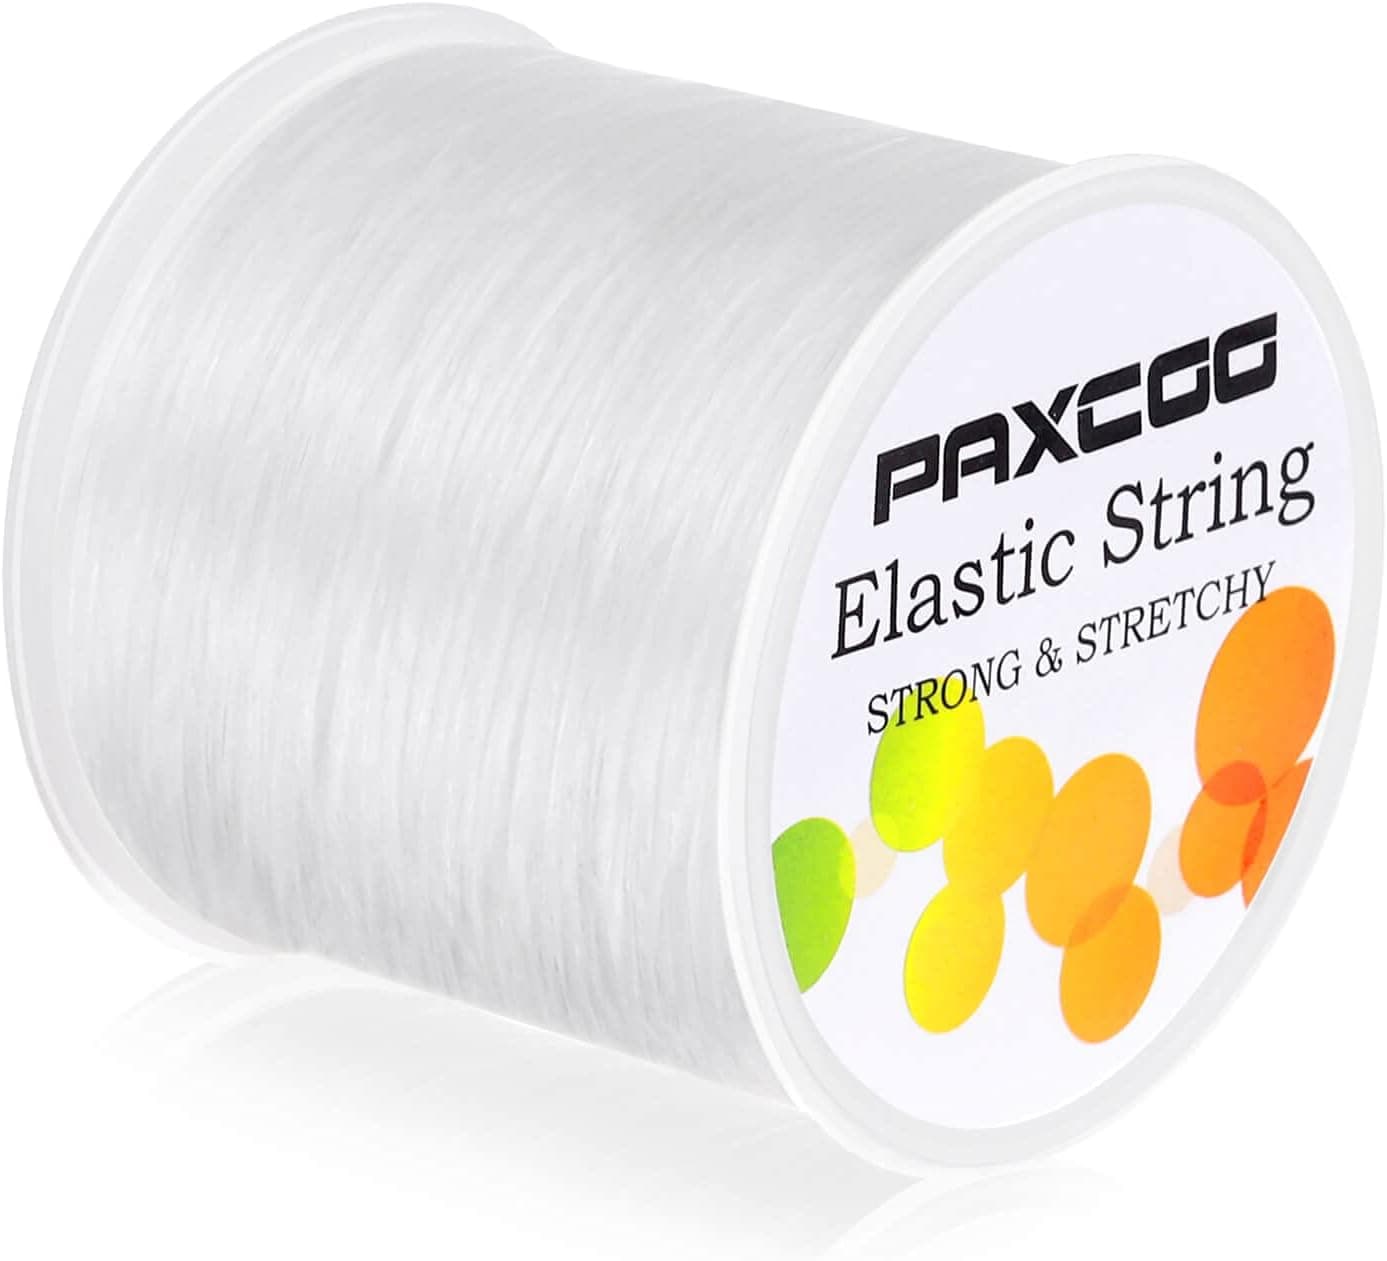
Start with the cord itself. The most reliable choice is a stretchy floss-style cord made of many parallel elastic strands, sold under several brand names, rather than the round rubbery monofilament cord, which is easier to knot poorly and degrades faster. Thickness should match the beads: 0.5mm for small beads with tight holes, 0.7mm as the all-purpose standard for 6mm to 8mm beads, and 1mm for heavy gemstones and large-hole beads. If the cord fits through the bead twice, consider doubling it for strength. Elastic does age, so buy fresh cord from a supplier with turnover instead of using a spool that sat in a drawer for a decade.
Preparation is the step almost everyone skips. Cut a generous length, around ten to twelve inches for an average bracelet, and pre-stretch it by pulling firmly several times along its length. Unstretched cord will relax after assembly, leaving the bracelet loose and the knot suddenly slack, which is a common cause of early failure. Size the bracelet to the wearer's actual wrist without added ease, because elastic provides the ease itself; a stretch bracelet strung to a loose length will spin and droop. Beads with sharp-edged holes, like some crystal and cut metal, deserve either different cord placement or small round spacer beads on each side to shield the elastic.
String the beads, then tie the knot that does the real work: a surgeon's knot, which is a square knot with an extra pass through the first tie. Pull it tight in stages, stretching the cord slightly as you tighten so the knot beds in under tension. Follow with a second full knot on top for insurance. Then add a very small drop of a flexible jewelry glue or a cyanoacrylate designed for elastic to the knot only, keeping it off the surrounding cord, since stiff glue on stretchy cord creates a brittle spot. Let it cure fully before the next step, ideally overnight.
Hide the knot to finish cleanly. Trim the tails to a few millimeters, never flush against the knot, and pull the knot inside the adjacent bead with the largest hole; many makers plan the design so one bead near the back has a roomy hole for exactly this purpose. The tails tuck in alongside. The result looks seamless and, more importantly, the knot is protected from abrasion. If no bead hole will swallow the knot, position it between two beads whose ends cup it, and rely on the glue and short tails to keep it tidy.
Finally, teach the wearer, even if that wearer is you, how to put the bracelet on: roll it over the hand rather than pulling one section outward like a slingshot, which concentrates all the stress on a few cord strands. Keep elastic bracelets away from prolonged sun, hot cars, and solvents like perfume and sanitizer, all of which age the cord. Expect even a perfect stretch bracelet to be a wear item; restringing every few years is normal. Build them well, and those years will be trouble-free, which is exactly what you want from the most casual, grab-and-go piece in a jewelry collection.